10 ways to add width and depth to your mixes in your DAW
Adding extra dimensions in your mixes can really give them a pro feel. Here’s how it's done...
You might think that creating a 'wide' mix is as simple as using the panning controls in your DAW's mixer, but there's a little bit more to it than that.
Here are 10 ways to take your track off the straight and narrow and to give it a sense of body and depth...
1. Pitch and formant
Pitch and formant shifting is handy for quickly widening mono synth, vocal and guitar tracks. Create two copies of a track, pan them hard left and right, then apply slightly different pitch shift or formant shift values to each copy. Duplicate additional tracks with alternative pitch and formant settings for an even wider effect.
2. Flip the reverb or delay
To widen a stereo track, flip the reverb or delay so that the effect from the right channel is played in the left and vice versa. Set up a 100% wet reverb or delay effect on a buss and then flip the L/R channels using a utility plugin.
3. Use rotary effects
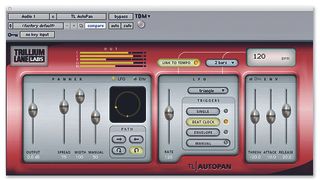
Try rotary plugins and autopanning effects on mid-/high-frequency percussion-like hi-hats, shakers and bongos, giving the tops width while the kick and snare stay dead centre.
4. Pan properly
The human ear can make out only a few different panning positions at the same time. Use this knowledge to keep the panning of individual tracks nice and simple.
Using just five panning positions will keep your mix clean and increase separation between instruments. The positions hard left, mid left, centre, mid right and hard right can be used exclusively, so don’t be too scared of doing hard panning.
Get the MusicRadar Newsletter
Want all the hottest music and gear news, reviews, deals, features and more, direct to your inbox? Sign up here.
5. Make use of mono
Collapse the majority of a track’s elements to mono to enable the stereo and panned instruments to really stand out. Alternatively, use a multiband imaging plugin to switch all the frequencies below a certain range into mono. This will allow the midrange and high frequency instruments to become more prominent.
6. Duplicate guitars
To create a wider-sounding guitar riff, take a mono guitar sample and duplicate it onto three separate tracks. Pan one left, one right and one centre, then apply guitar cabinet plugins to the three tracks using different settings on each. Keeping a ‘clean’-sounding centre channel with two different distorted cab emulations panned left and right sounds especially good.
7. Vary the width
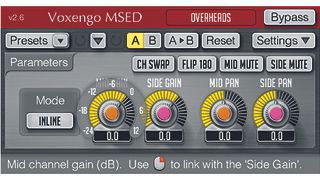
To make the chorus parts of a song really stand out, widen the stereo field during that part and narrow it again for the verses. Use a mid/side plugin with an adjustable width setting on wide-sounding instruments. Then automate this width setting to reign in the stereo effect during the verses and widen during chorus sections.
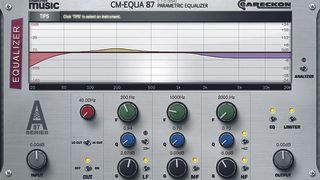
8. Use EQ
Careful EQing is one of the simplest ways to create the impression of depth in a mix. For sounds you want to place ‘close’ to the listener, set the EQ curve to brighten them, exaggerating their dominant frequencies. For ‘farther away’ sounds, roll off the top-end around 2kHz and slightly boost the low frequencies below 200Hz.
9. Use one reverb
It’s easy to create a basic perception of depth with just one reverb instance to save on CPU and keep your mixer routing simple.
Firstly, set up a bus with reverb set to 100% wet. You can then vary the send’s level depending on how far away you want each track to sound.
10. Find your depth
The human brain is rarely able to pinpoint more than two or three positions of distance simultaneously. We can use this knowledge to simplify the depth-staging of our mixes.

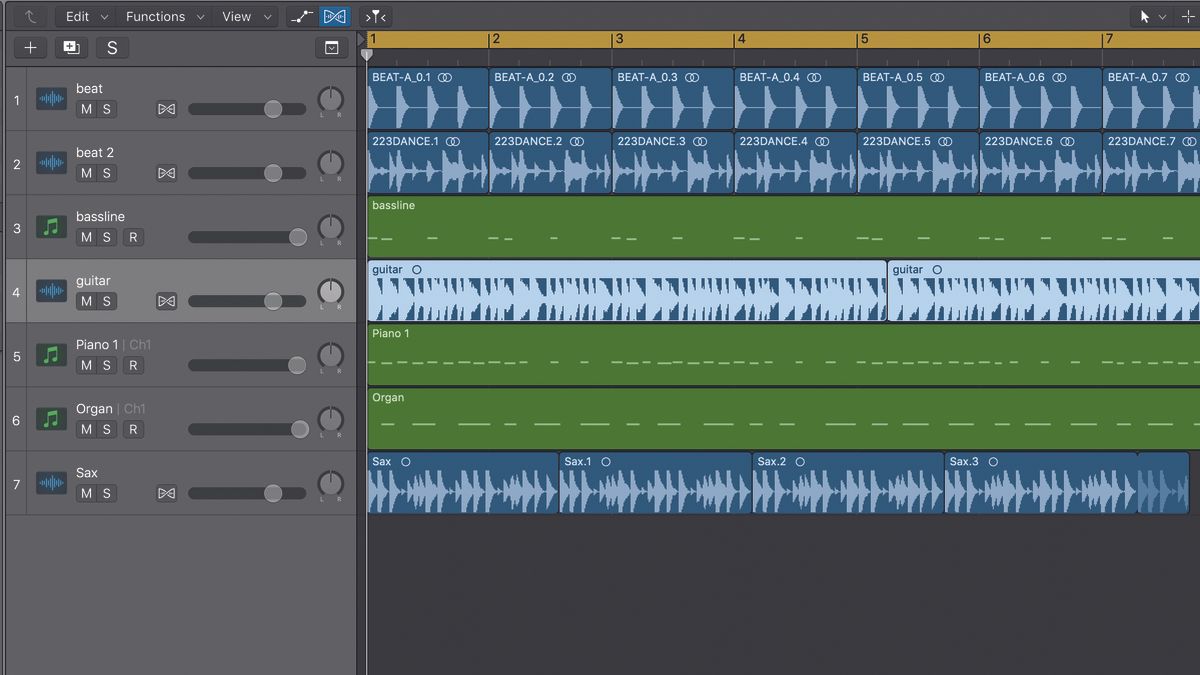
Step 1: It’s really difficult for the human ear to make out more than three levels of depth. Here we’ll use reverb plugins to mimic three depths of a virtual soundstage and then bus tracks to them. We’re starting with a basic tune consisting of just seven tracks.

Step 2: We then set up three bus channels to represent different distances: near, mid and far. One for the beats and bass (close), a second for guitar and sax (mid) and a third for the piano and organ (far). We then add the same Live Club preset reverb to each bus.

Step 3: Now on each of the three bus channels, we change the reverb’s Wet level, Diffusion and reverb Time. We dial them back for a closer sound for the beats and bass bus and increase them for the piano and organ bus to push them to the back of the mix.
Computer Music magazine is the world’s best selling publication dedicated solely to making great music with your Mac or PC computer. Each issue it brings its lucky readers the best in cutting-edge tutorials, need-to-know, expert software reviews and even all the tools you actually need to make great music today, courtesy of our legendary CM Plugin Suite.

"If I wasn't recording albums every month, multiple albums, and I wasn't playing on everyone's songs, I wouldn't need any of this”: Travis Barker reveals his production tricks and gear in a new studio tour

“My management and agent have always tried to cover my back on the road”: Neil Young just axed premium gig tickets following advice from The Cure’s Robert Smith
