10 unorthodox production tricks for a killer mix
Go against the grain and tear up the production rulebook with two handfuls of rebellious techniques

Intro
MIXING WEEK: From the moment a fresh-faced young wannabe fires up a DAW for the first time, there are certain techniques that are drilled into him or her from every angle. Use low-high-pass filters on all tracks to create extra mix headroom! Avoiding clipping channels at all costs! And always leave master bus processing to the mastering engineer!
Of course, while common production advice is tried-and-tested for good reason, sometimes swimming against the tide can get you results that no one else has. After all, why learn all the rules if you can’t break them once in a while? A perfect example of this rebellious attitude is the jungle/DnB genre from the early 90s-00s, which was heavily shaped by pioneers such as Ed Rush & Optical and Dillinja pushing their samplers, synths and mixing desks beyond their limits to create unheard-of sounds and unique mixes that subverted all the rules.
In this gallery, we’ll show you ten unintuitive tips for a killer mix - all of which go against every common production rule you’ve ever heard. A lot of widely discussed advice comes from the playbook of old-school mix engineers who were well versed in operating relatively basic analogue equipment, but as we now use über-advanced digital tools, there’s loads of scope for experimentation and going firmly against the grain to create a unique sonic identity.
Right, let’s put common sense to one side, crank it up to 11 and take the road less travelled!
Click here to download all the audio you'll need to complete this tutorial.
MusicRadar's Mixing week is brought to you in association with Softube. Check out the Mixing week hub page for more mixing tutorials and tips.
1. Roll it in glitter
You know those bog standard, weak samples that you’d never use in a track because they’re more vanilla than a Cornetto? Yep, even they can be turned into something exciting!
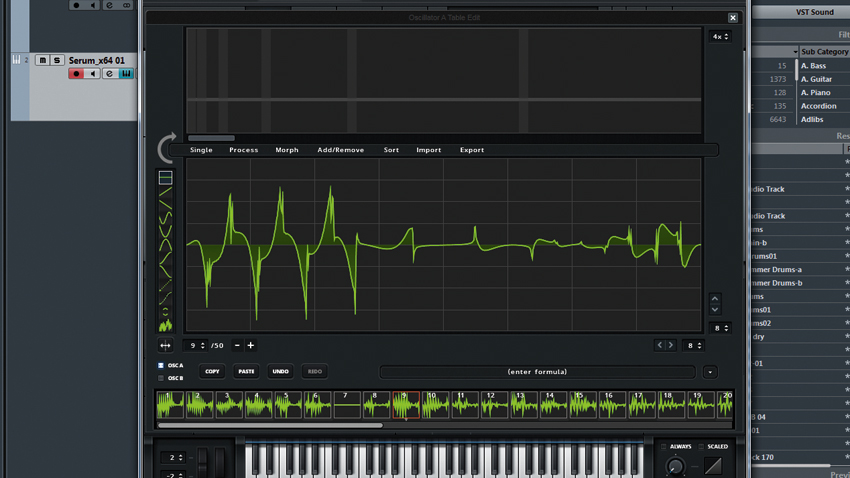
One way of making a silk purse from a sorry sample is to fire up Xfer Records’ Serum synth and drag said sample into a blank wavetable oscillator to create a new wavetable. Having done that, tweak or modulate the oscillator wavetable position, detuning and warping to generate a huge bass, piercing lead or dreamy pad.
Another top trick is to combine dramatic effects to take a sound completely out of context. ValhallaDSP’s Shimmer reverb can transform even the shortest source sound into an over-the-top, sustained reverb tail that can be messed up even more with distortion to create a cinematic drone for an intro or break.
2. Squash the master
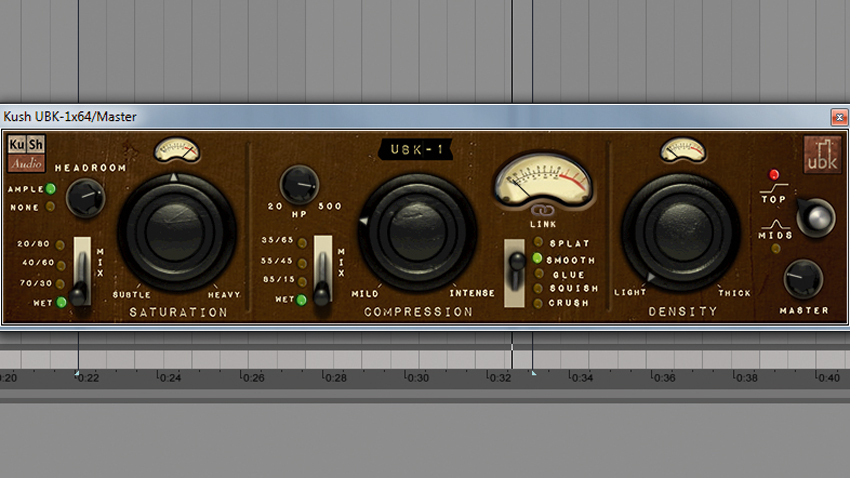
Although this might make your mastering engineer cry, mixing into a compressor or limiter loaded on the master output can give a ballsy sound and a sense of cohesion when applied correctly. Be wary, though - your mix will probably fall apart when the master device is bypassed, so tread extremely carefully!
3. Stereo bass
Wide bass is usually a big, fat no-no when it comes to almost any type of production… but we’ve got a great trick to make it fully mono-compatible!
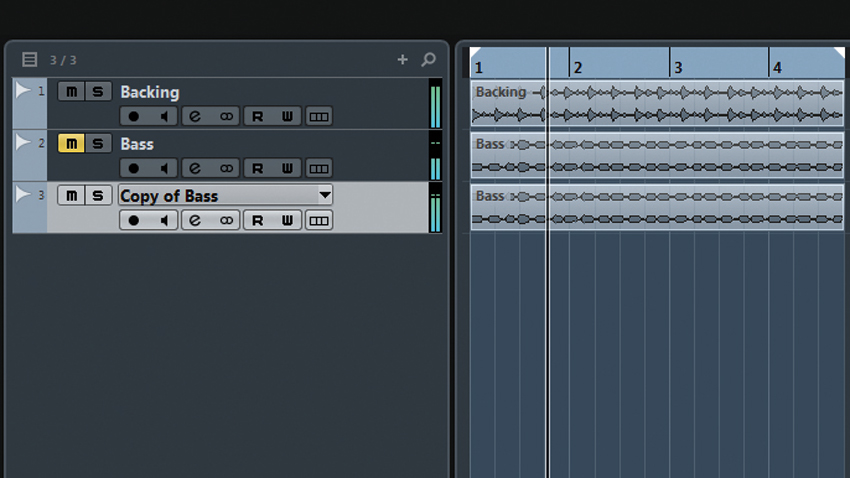
Step 1: Adding stereo width to a synth bass can sound awesome when it's played back through headphones or a car stereo. Import Backing.wav and Bass.wav into any DAW, then duplicate the Bass channel. We’ll start by processing the duplicate bass to make it sound subtly different from the original.

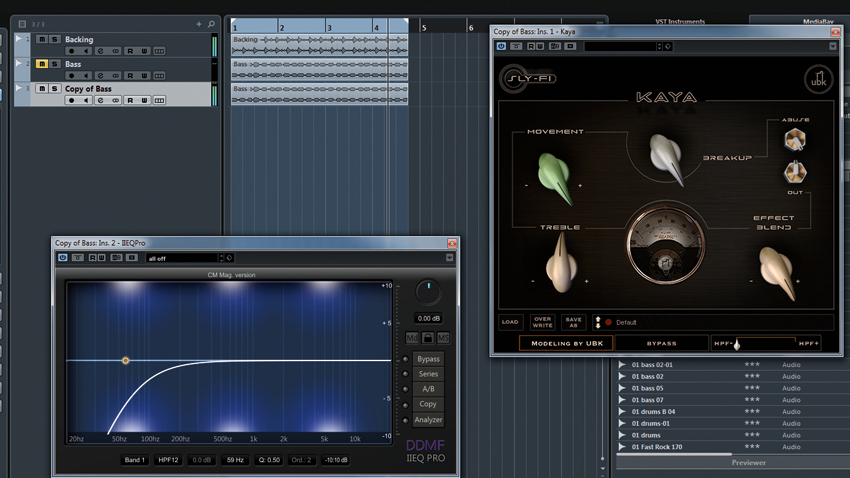
Step 2: Distortion is great for adding grit and grime to bass sounds. We push Sly Fi Kaya’s Movement, Breakup and Abuse dials hard to give the bass some serious crunch. Next, we use a 60Hz high-pass filter to roll off the lowest sub frequencies while still leaving plenty of low weight, ready for our final move.
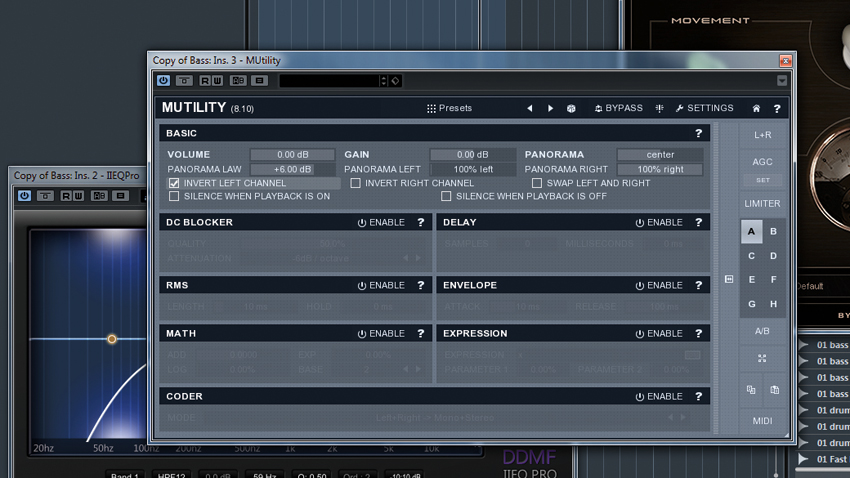
Step 3: To finish, place a utility plugin on the duplicate bass, invert the phase of the left channel and turn the volume down to -18dB. This’ll turn the duplicate bass channel into a side-only image that adds complementary bass width when listening in stereo, but cancels out completely when heard in mono, leaving our original bass completely intact. Clever, huh?
4. Plugin abuse
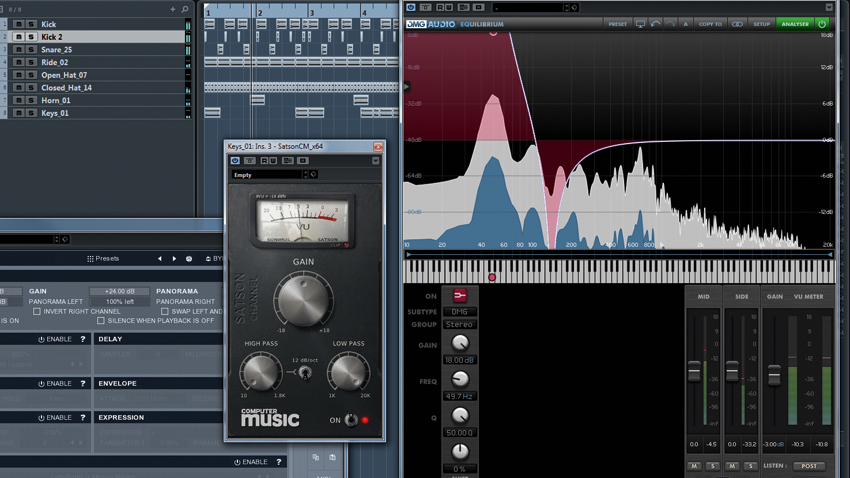
Many engineers advise going easy with processing. Less is more, after all. Yet cramming signals to absolute extremes is a fun and creative sound design technique - not only making dramatic changes to the texture of the source material, but also introducing interesting distortion or errors that arise from a plugin being pushed into unknown territory. Examples include dialling in extravagant 15-20dB EQ boosts, compressing the living hell out of a signal, or cranking up the gain between multiple plugins in a channel’s signal path.
Slamming musical samples such as keys, strings or guitar with heavyweight saturation can also produce great results. For example, by thrashing a signal through Sonimus Satson CM, we add overt, preamp-style saturation that’ll grunge things up and emphasise any noise or undertones lurking quietly in the background. To really get Satson CM’s clip light flashing like a Christmas tree, use utility plugins before and after it, the first to add at least 10dB of gain, the other to compensate after processing. Of course, these tricks may end up destroying your sound in a negative way, so use your ears and judge accordingly.
5. Cranking up the vibes
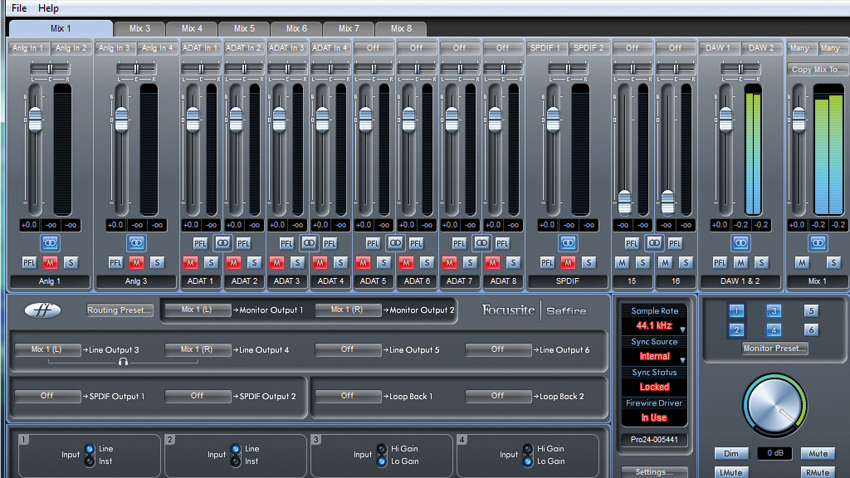
While it’s always good to make your mix decisions at a sensible volume, quiet speakers can make studio sessions feel a little scientific at times. Instead, get into the groove and crank your monitoring level up for very short periods, to give your home studio that ‘club’ vibe. Make sure this is only temporary, to pump your inspiration, and keep levels modest for the majority of the time to prevent ear damage.
6. On the attack
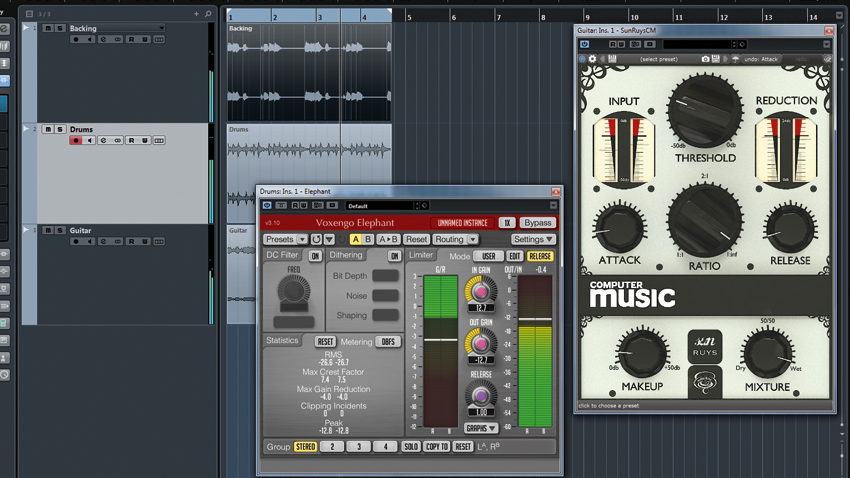
Make a mockery of ‘correct’ compression and limiting technique by applying dynamics processing in a wrong or unnecessary way.
Using fast attack and release times on a transient-heavy sound will distort those transients, adding a cool high-frequency fizz that can be hard to achieve using other processes.
Similarly, going for a super-slow release time will make a sound dull, which is not only great for taming overly sharp signals, but also gives a laggy, smooth feel that can work well as an effect.
We can also apply creative dynamics processing to sounds that don’t need it, such as dense synths or distorted electric guitar, to give them a pumping, breathing, overly processed sound – Computer Music's SunRuys CM is particularly good for this.
7. Punch above your weight
Here are some unusual ways to give an overly snappy drum break a bunch more punch…
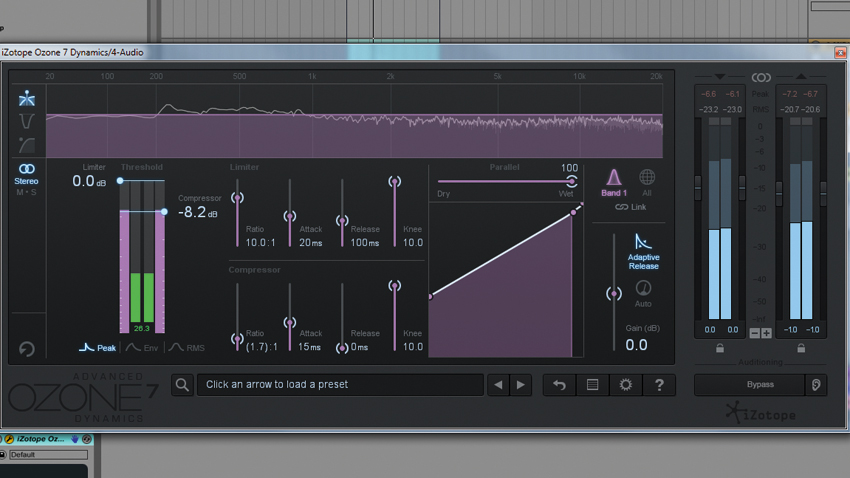
Step 1: Dialling in a little upward compression using iZotope Ozone 7’s Dynamics module will bring back lacking weight - we’ve gone for a -1.7:1 Ratio with 15ms Attack and 0ms Release to inflate our beat’s depth and body.
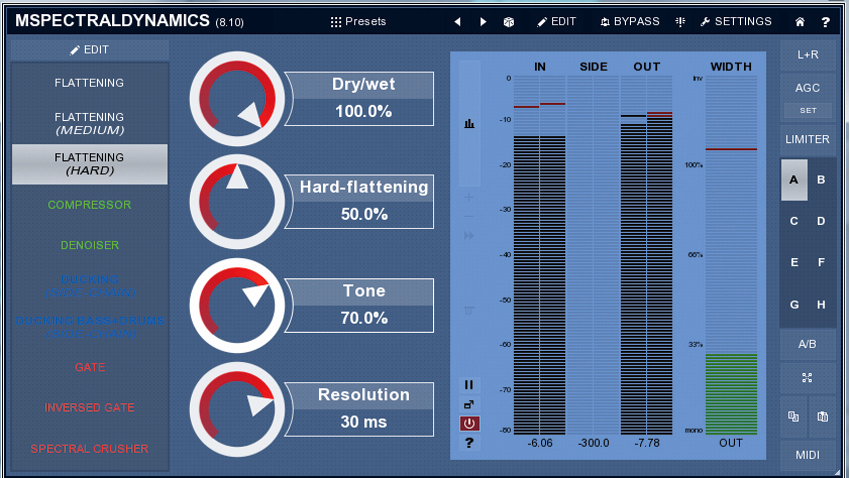
Step 2: A spectral dynamics processor such as MeldaProduction’s MSpectralDynamics offers a slightly different flavour to stock compression - dialling in 50% Hard-Flattening alongside a Resolution of 30ms and 70% Tone fattens our beat up no end.

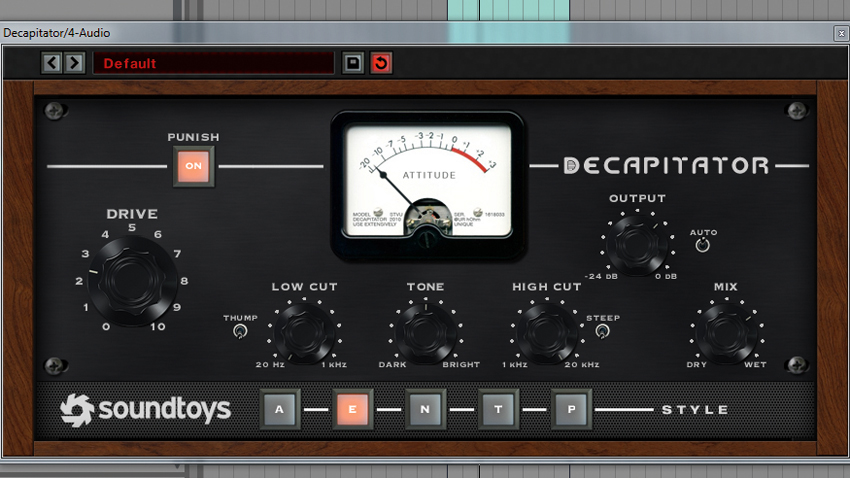
Step 3: Mixing distortion into the drums will give us more body and rugged character. Soundtoys Decapitator is ideal for this: set the Style to E and hit the Punish button. After this, push the Drive to around 3 before backing the Wet/dry mix off to 2 o’clock.
8. Cut and run
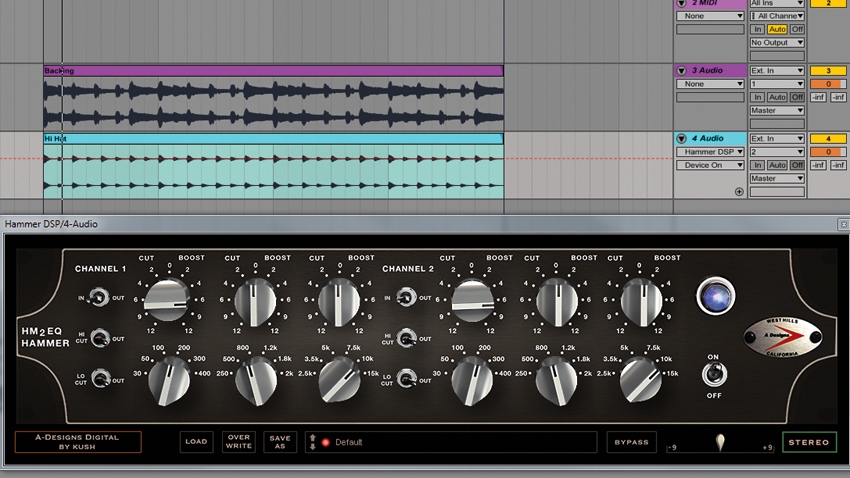
Using high- and low-pass filters to remove extreme low and high frequencies from a sound is the oldest trick in the book, but it can actually make your mix sound sterile and overly separated. A different take on this staple studio technique is to leave the bass intact for extra depth when EQing high-frequency material like hi hats, rides or synth pads - or even place a low EQ boost on sounds without any natural bass to give them a richer, beefier sound.
This trick works particularly well on analogue-driven signals, such as samples from vinyl or an old-school drum machine.
9. Rooms with a view
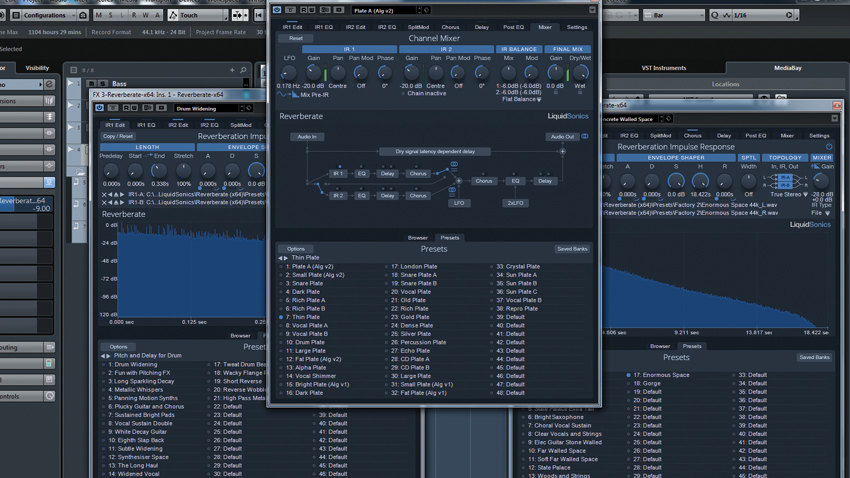
A common tip when mixing is to use a single reverb unit on a send for all the parts of the mix that need a splash of ambience adding. This is great for crafting a cohesive mix, as it makes all the instruments sound as if they’re in the same room.
However, we can create a more unusual sense of space by using several reverb sends in a creative, contrasting way. Picking some reverb presets that purposely don’t fit together is a great way of doing this. For example, a cavernous ’verb for drums, a thin plate for guitar and a sound-scapey preset on piano is a great starting point for adding unique character to a bone-dry mix.
10. Clipped your wings
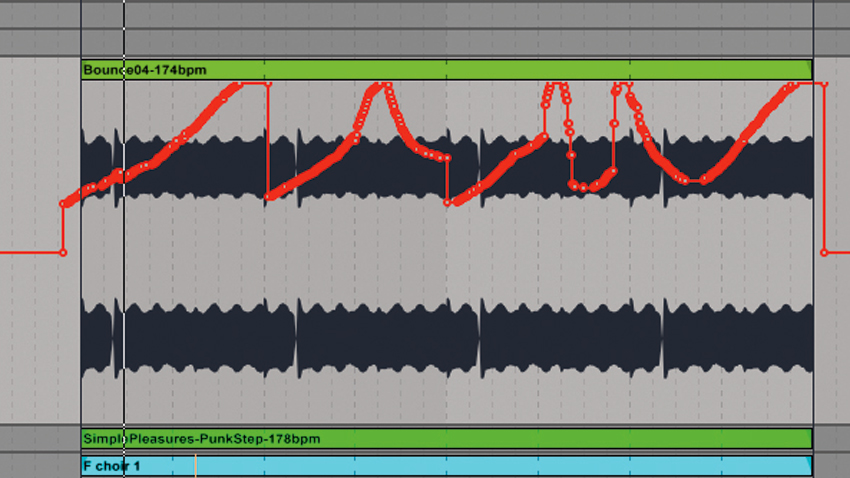
When you’re making big, bashy music such as jump-up DnB, grime or even metal, you’ll probably be using clipping or limiting somewhere in the mix. Instead of reaching for a plugin to do this job, have a go at overloading your DAW’s channels by running signal levels hot!
With transient-heavy material such as drums, applying a subtle amount of digital clipping in your DAW can often give a more transparent result than using a limiter for the same job. In most DAWs you won’t actually hear clipping until you render the track through the master, so there’s trial and error involved.
Ableton Live is one exception, however, as it will clip audibly when a mix channel passes a certain level. If you’re looking for more extreme results, push the clipping harder and introduce noticeable digital distortion that can be used as a great effect on bass.
Computer Music magazine is the world’s best selling publication dedicated solely to making great music with your Mac or PC computer. Each issue it brings its lucky readers the best in cutting-edge tutorials, need-to-know, expert software reviews and even all the tools you actually need to make great music today, courtesy of our legendary CM Plugin Suite.
