10 smart ways to use distortion when you're mixing
Give your tracks professional warmth, grunt and bite with our ten essential tips for turning up the heat
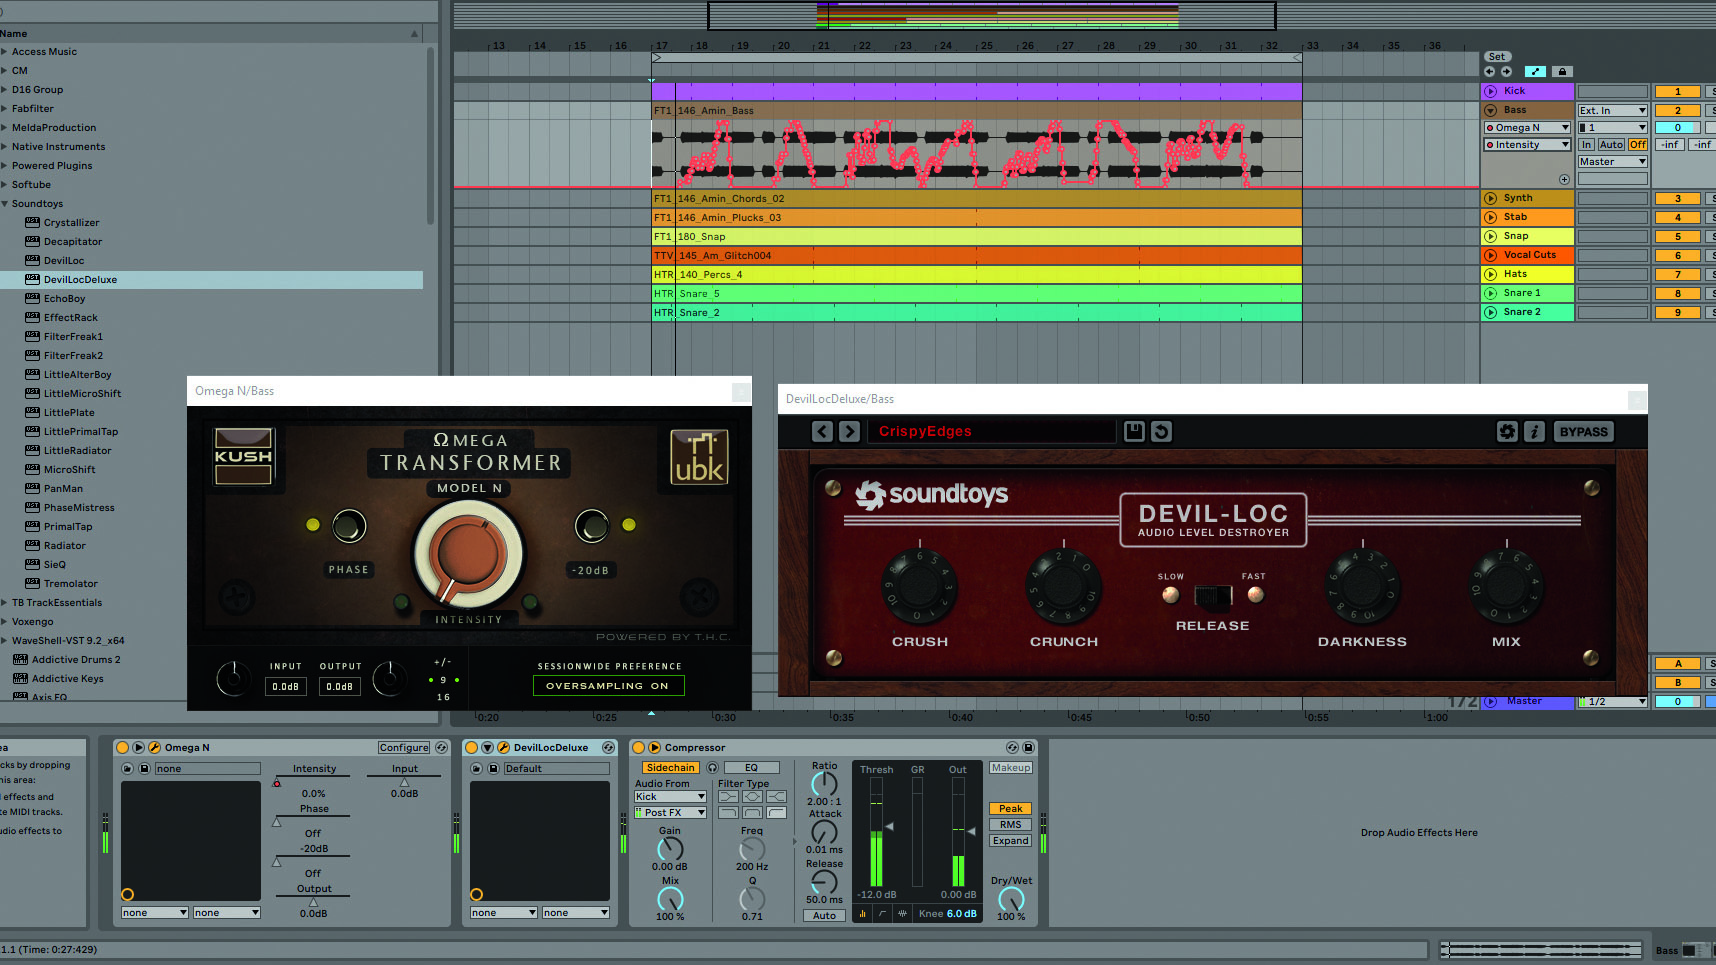
Whether it’s a subtle amount of tape saturation to add warmth to a clean synth part, retro bitcrushing to give a reverb send that crunchy 1980s digital feel, or over-the-top trashy distortion grunging up an entire drum kit, the various distortion plugins we have in our toolbox can open up new worlds of possibilities when mixing.
Ironically, back in the day, mix engineers were always trying their hardest to avoid the characteristics of the hardware they were using, and dreamed of absolute sonic clarity; now, in the all-too-perfect software domain, we’ve since realised that in-the-box mixes can easily sound sterile and – dare we say it – digital. The best way to counteract this? With an expert application of saturation and distortion effects, of course!
These heat-inducing tools allow you to impart individual sounds, subgroups and mix busses with a near-endless range of colours and tones, and when applied properly, you can add the perfect amount of bite, character and energy to even the most vanilla of sounds.
So to help raise your distortion game to pro levels, we’ve assembled ten expert tips on how to give your signals and mixes a unique edge. Expect some killer info as we explore techniques including multiband distortion, multistage saturation, vintage tone emulation and even stereo applications. Fire up your DAW… and turn up the heat!
Click here to download tutorial files and audio examples.
1. Clipping peaks
Peak reduction is not only a transparent technique for mixing or mastering, but can also be an incredible creative tool when used correctly. Both limiting and clipping work by chopping off the loudest part of a signal’s waveform – usually the transient – when said signal breaches a user-defined threshold.
As transients are of such a short duration, a moderate amount of peak reduction is fairly unnoticable, up to a point. In general, limiting is the more transparent process of the two, while clipping induces more noticable harmonic distortion – ideal for assertively flattening and fattening drum hits.
Get the MusicRadar Newsletter
Want all the hottest music and gear news, reviews, deals, features and more, direct to your inbox? Sign up here.
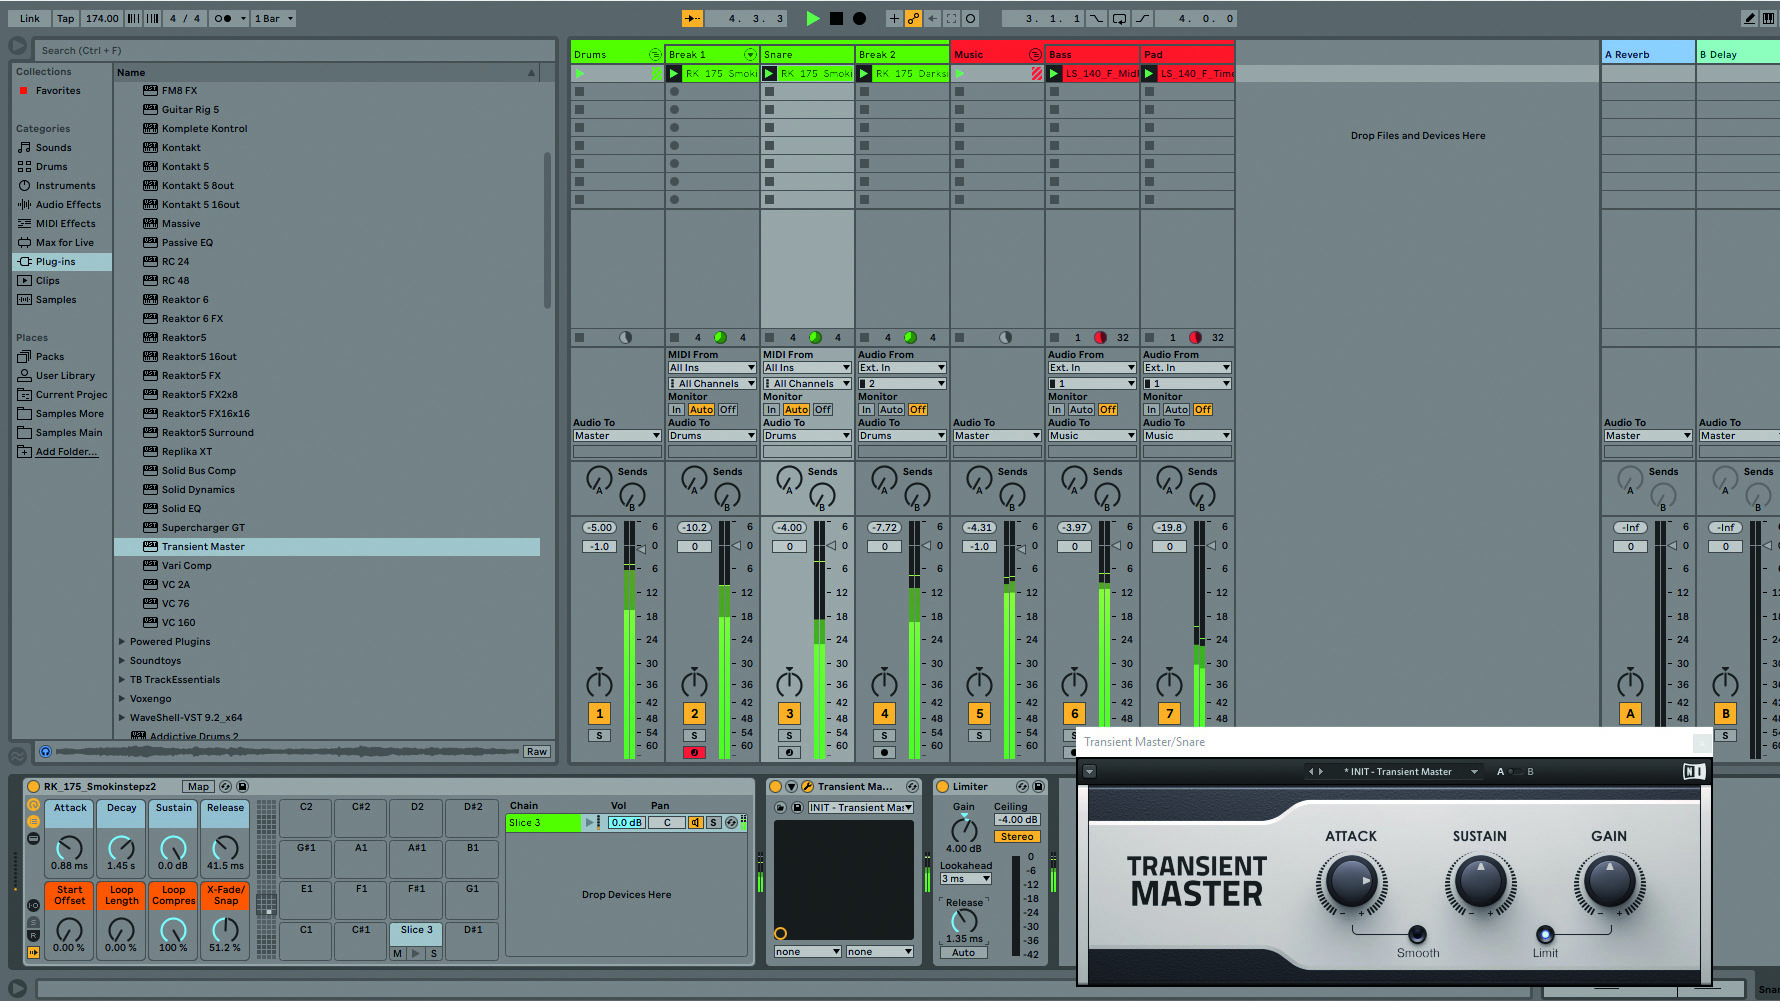
An advanced way to add punch to drums is to force those transients up into a stage of clipping. For example, add attack to a snare with an attack-boosting transient shaper, followed by a limiter or clipper. As you increase the attack, the limiter will stop the snare’s loudening transient, increasing the perception of front-end punch while keeping its physical peak level the same.
2. Distorting ambience
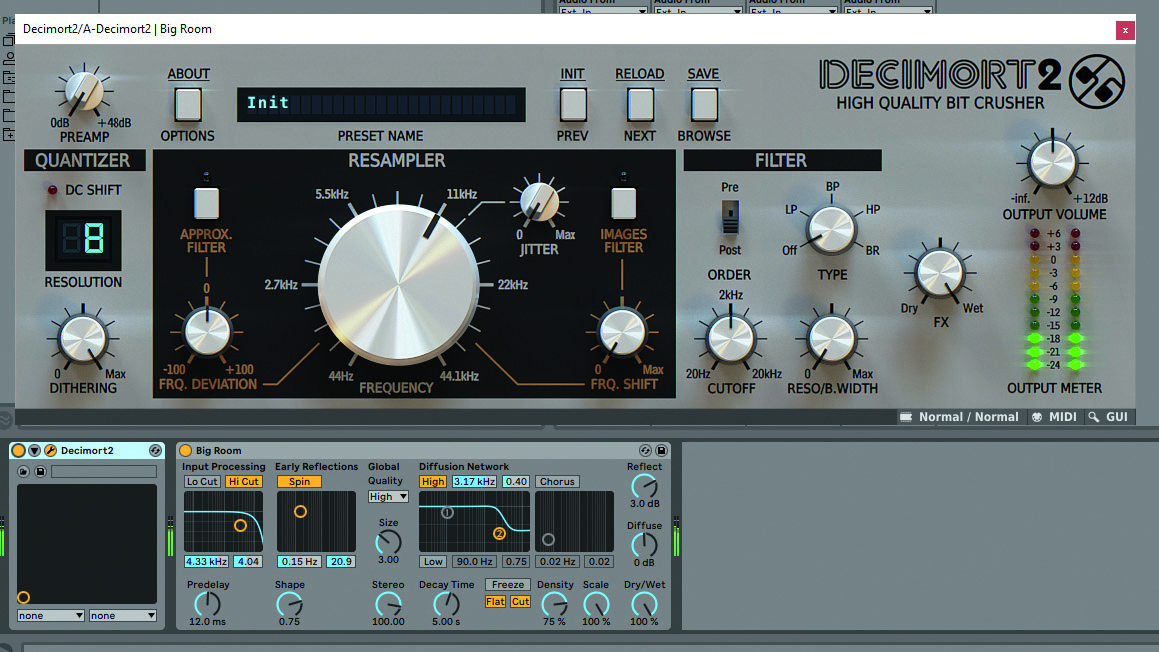
Adding a splash of distortion before or after auxiliary return effects such as delay or reverb is a superb hack for giving those spatial effects some character. This works well for spicing up dub delay, as you distort the signal as the echo’s feedback level rises.
A more subtle use for this is to place tape saturation before a drum reverb, giving the ’verb warmth and depth to fill out your drum mix in a way you wouldn’t get by processing the drums directly.
3. Multiband heat
Multiband distortion plugins such as FabFilter’s Saturn offer an endless variety of options for getting creative with distortion and saturation in the mix. Let’s use Saturn to warm up a thin-sounding dance track...
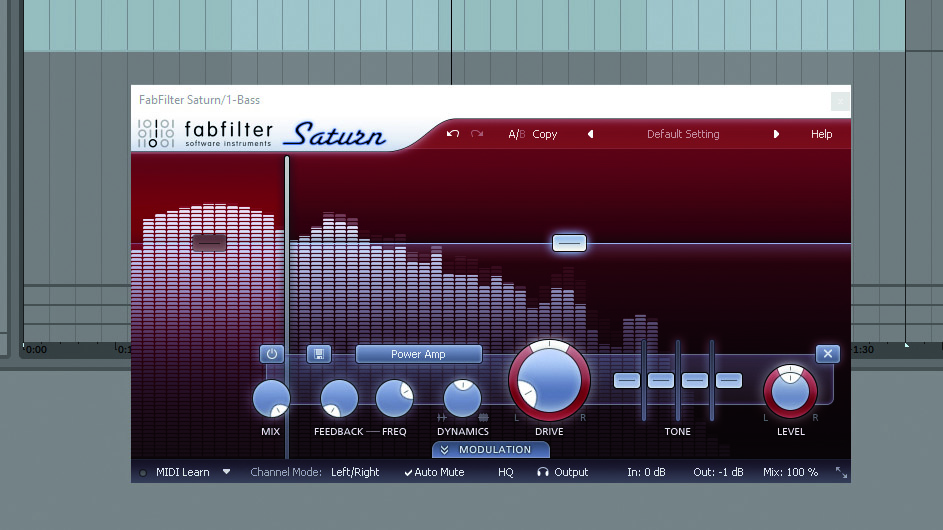
Step 1: By splitting this track’s bass across two Saturn bands, we can drive the sub and mid frequencies separately. Adding Clean Tube warmth and reducing the Dynamic range below 90Hz beefs the sub up, while some aggressive Power Amp distortion with around 10% of Drive gives the midrange more edge.
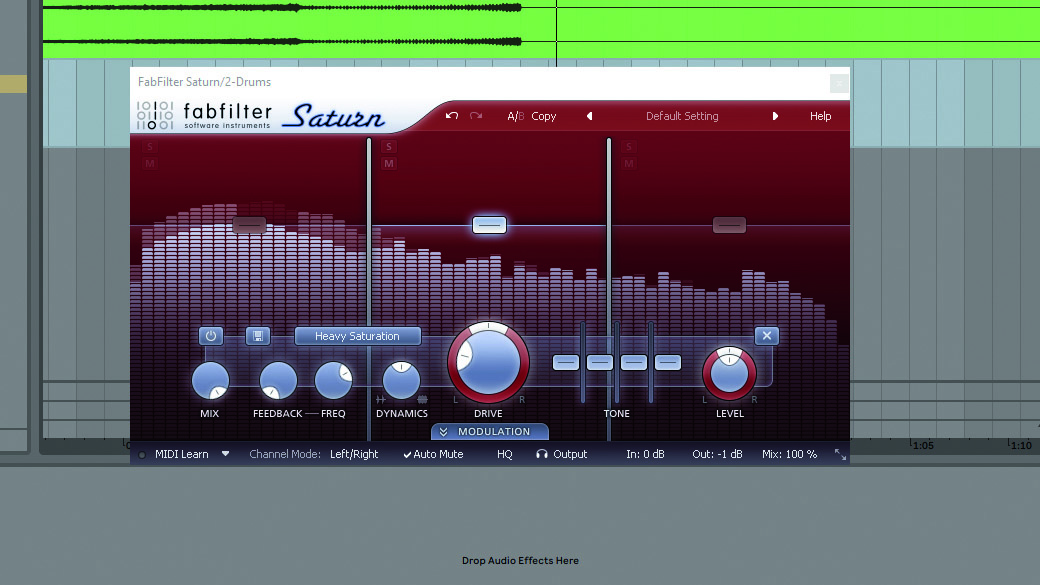
Step 2: To bulk up the midrange of the drums, call up three bands in a new Saturn, then Bypass bands 1 and 3. After setting the crossover to 200Hz and 2kHz respectively, drive the second band with Heavy Saturation to add some weight without crunching up the rest of the bass’s frequency content.
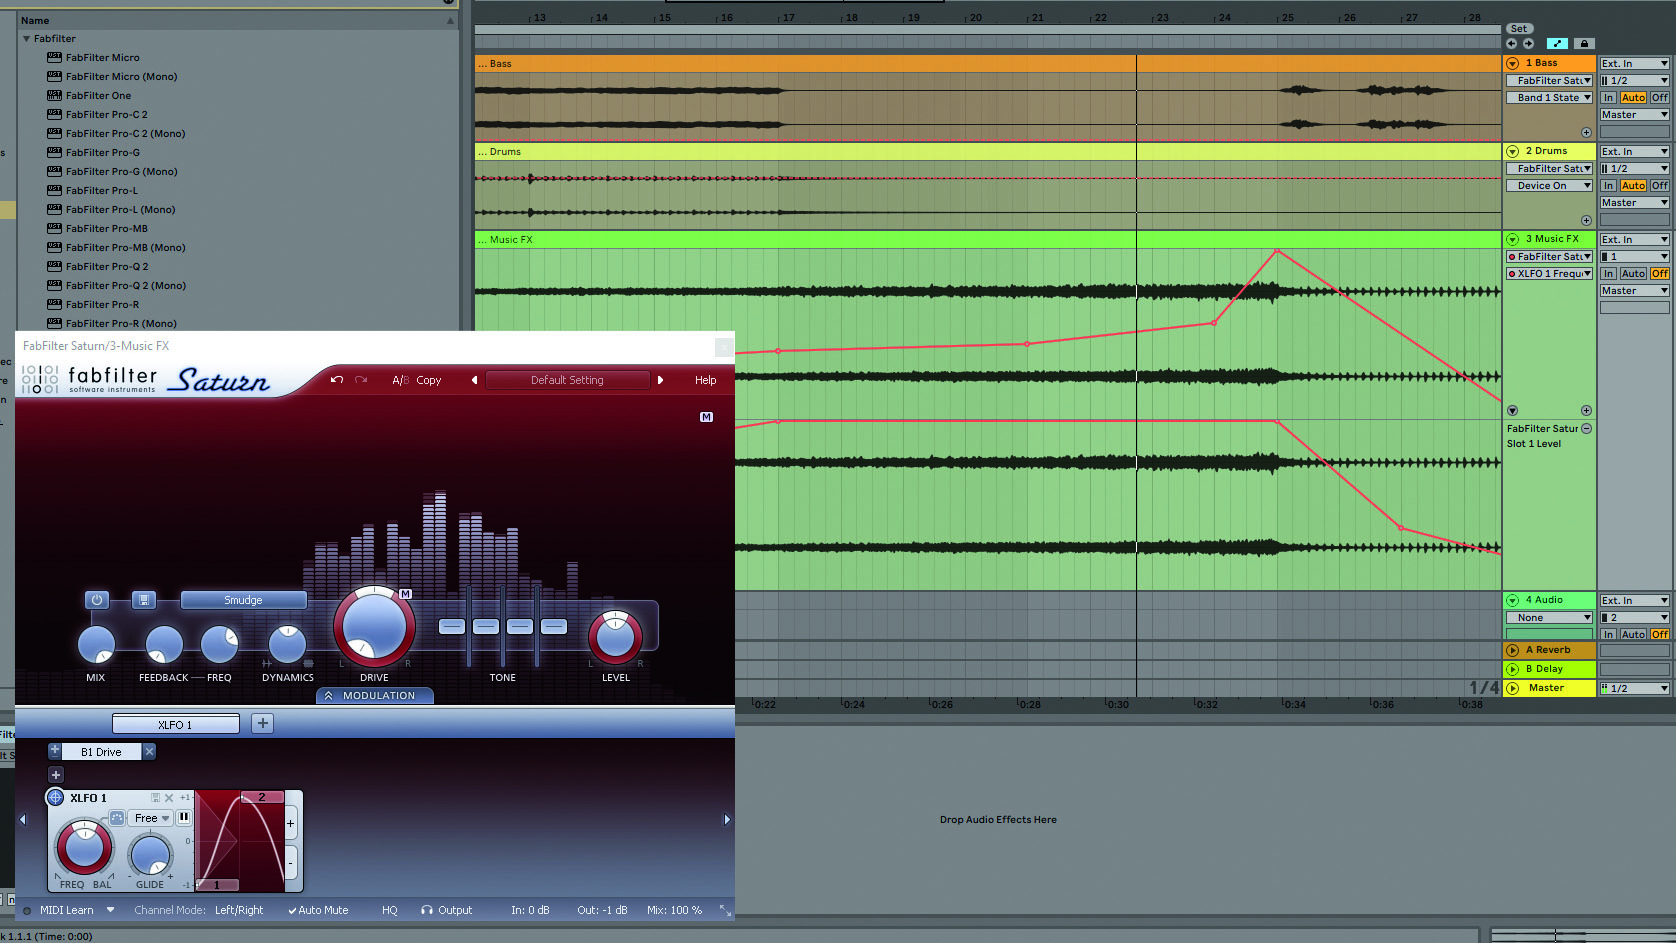
Step 3: Saturn’s modulation lets us use Smudge distortion as a stuttering effect that sounds ace on this tune’s intro pad. We’re using an LFO in Slot 1 to modulate Drive amount, then automating the Slot 1 Level and LFO Speed over the first 24 bars to help create a build-up.
4. Heating up beats
There are few better tools for shaping the sound of a drum mix than saturation or distortion. If your percussion bus is sounding too spiky, for example, try applying some moderate tape saturation: the emulated effect of magnetic tape will naturally smooth harsh transients, giving the overall drum sound a less brittle, digital feel.
If you’re after aggression instead, parallel distortion mixed on an aux return will give you the grunt you need, with the added advantage of being able to further process the distortion signal in isolation.
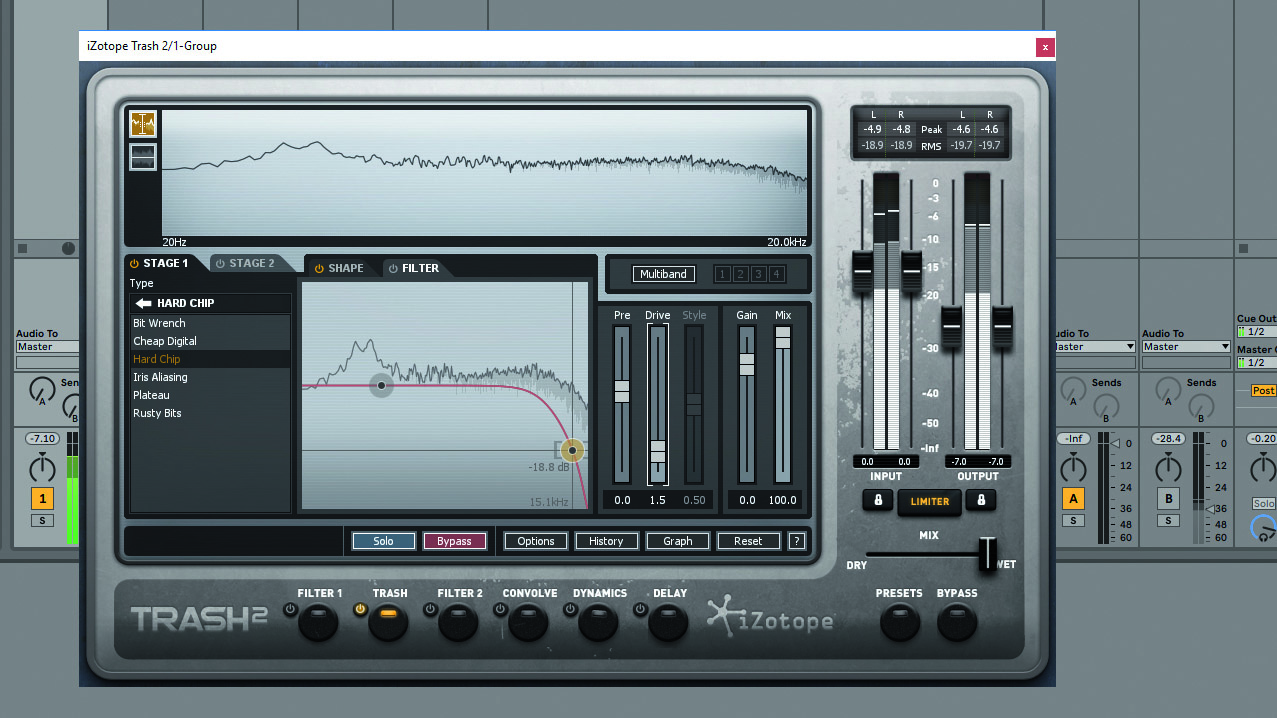
Plugins such as iZotope’s Trash 2 or Cableguys’ WaveShaper CM allow you to go even further and radically change drums with digital distortion or waveshaping. Ramming a drum through this kind of processing will instantly give you a tough, smashed sound that is superb for harder music styles. Although this can sometimes work on entire busses, you may bring out extreme artefacts that can spoil the effect – instead, for more control, process individual hits first, then edit out any overlapping artefacts afterwards.
5. Keep it tidy
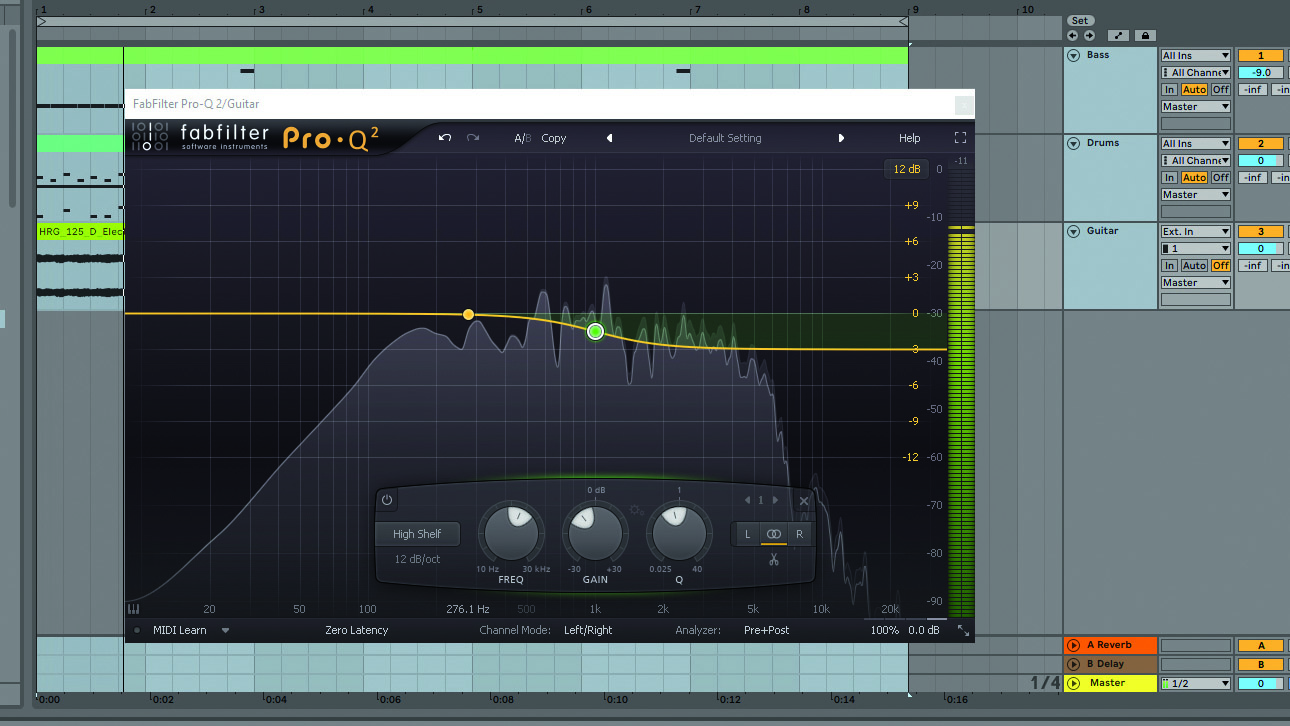
It’s surprising just how much high-frequency noise distortion can exacerbate or generate, even on low-pitched sounds like bass guitar. When mixing distorted guitars or synths, counteract this by dialling in a 1kHz high-shelf EQ cut to tame those upper harmonics – this’ll give percussion and vocals more breathing room, resulting in a smoother mix.
6. Mono distortion
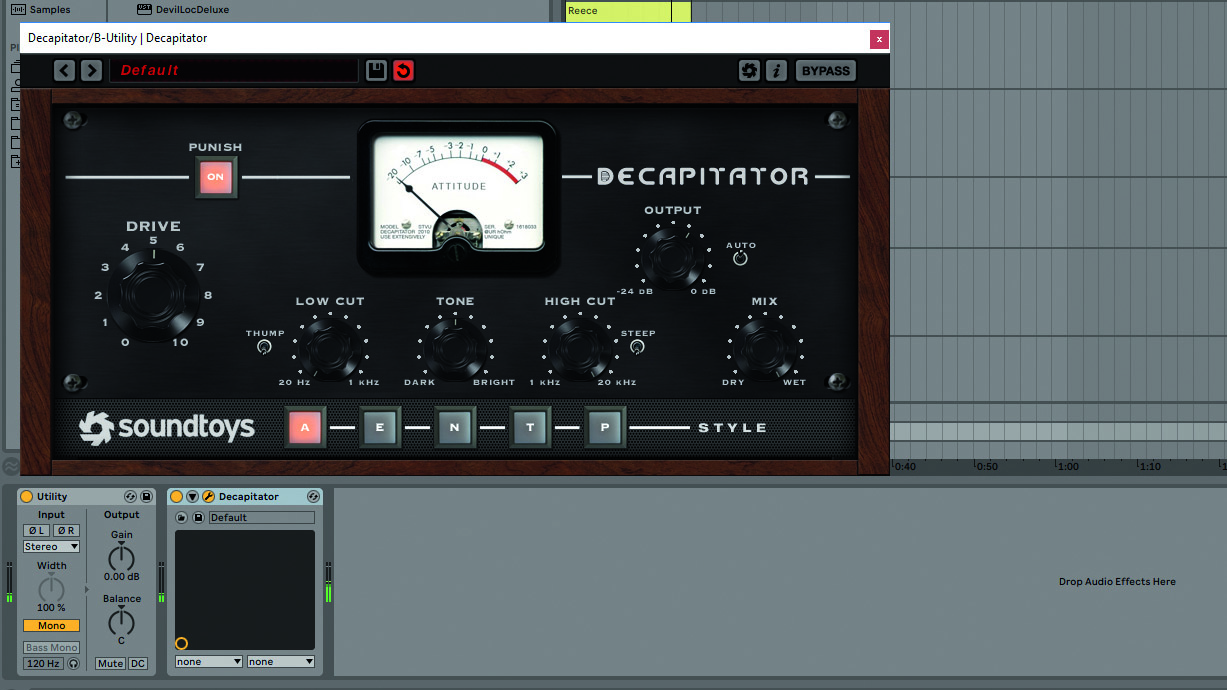
You’ll often find that superficially impressive stereo parts such as synth leads or vocal acapellas will sound incredible when heard in stereo, but often fail to cut the mustard when listening in mono thanks to excessive phase cancellation between the left and right channels when they’re summed into one.
In these scenarios, you can improve mono compatibility by sending the original signal to a mono aux return containing a distortion plugin. Not only does this make the sound stronger and beefier in mono, but it also doesn’t affect the stereo imaging one bit. You can even automate the offending track’s send volume to add emphasis at certain points in an arrangement – perhaps to make a naturally soft-sounding vocalist cut through for the chorus.
7. Retaining transients
Thanks to Dynamic Transient Control tech, Softube Harmonics adds grit when mixing, without squashing the sound’s ‘snap’.
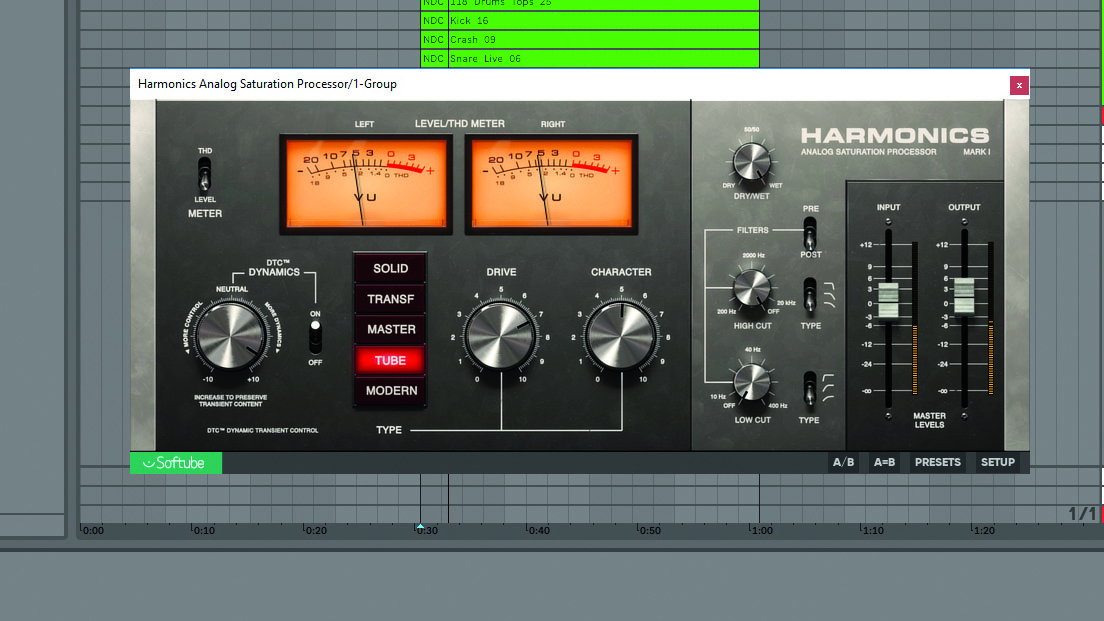
Step 1: First, group drum parts, then load Harmonics on the group. Choose the Tube drive type, then set Drive to 8. The drums sound more gelled, but with dulled transients. Setting the DTC Amount to 8 restores lost snap, with 1dB Output gain rebalancing volume.
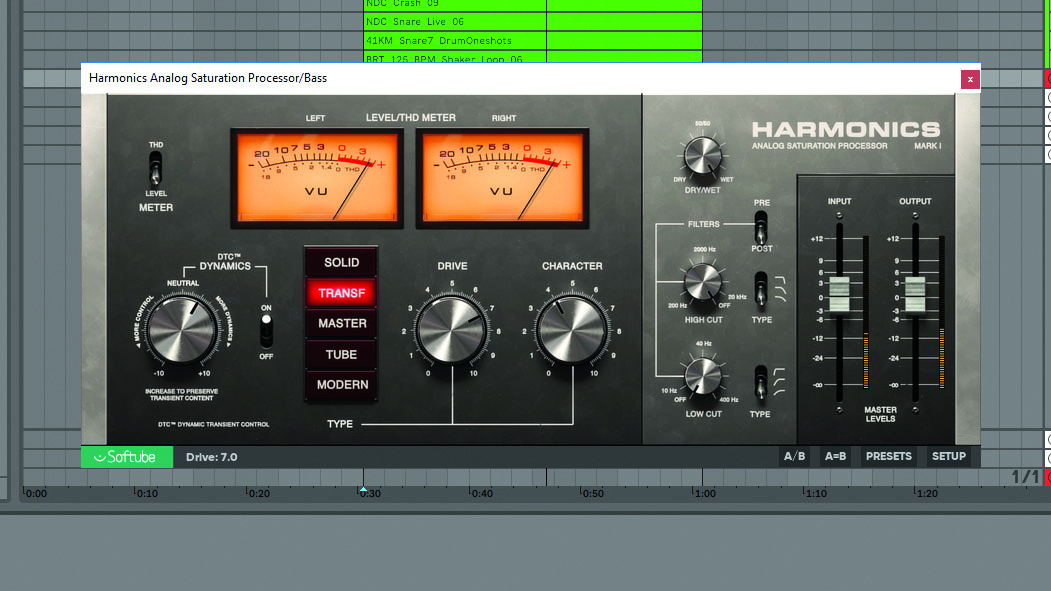
Step 2: Some Transformer drive on our bass channel brings out the low-mid frequencies in a clean and clear manner. Setting Drive to 4 and Character to 7 adds some extra ruggedness and tone, with a DTC Amount of 2 bringing out the initial attack of each bass guitar note.
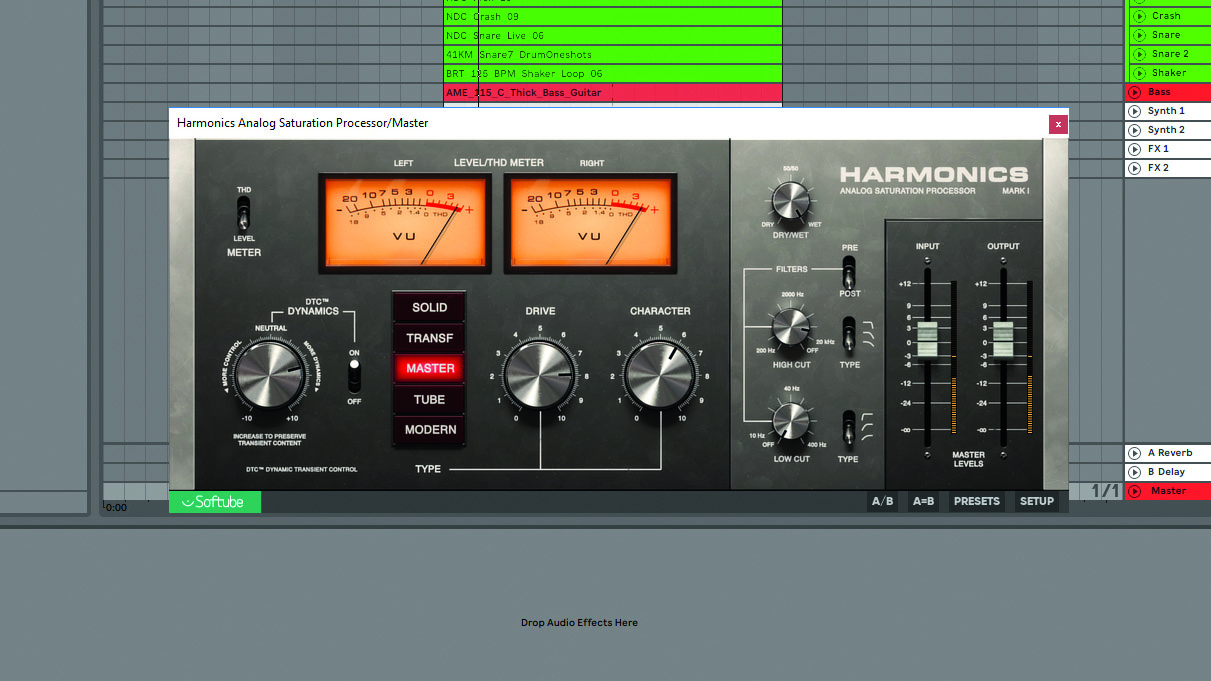
Step 3: Harmonics is an ideal tool for mix bus saturation. We put it on our master, and set it to Master mode. Increasing Character to 3 adds brightness, with a hard Drive at 8 gluing the mix together. A little DTC improves transient definition, with a 15kHz low-pass filter tidying things up.
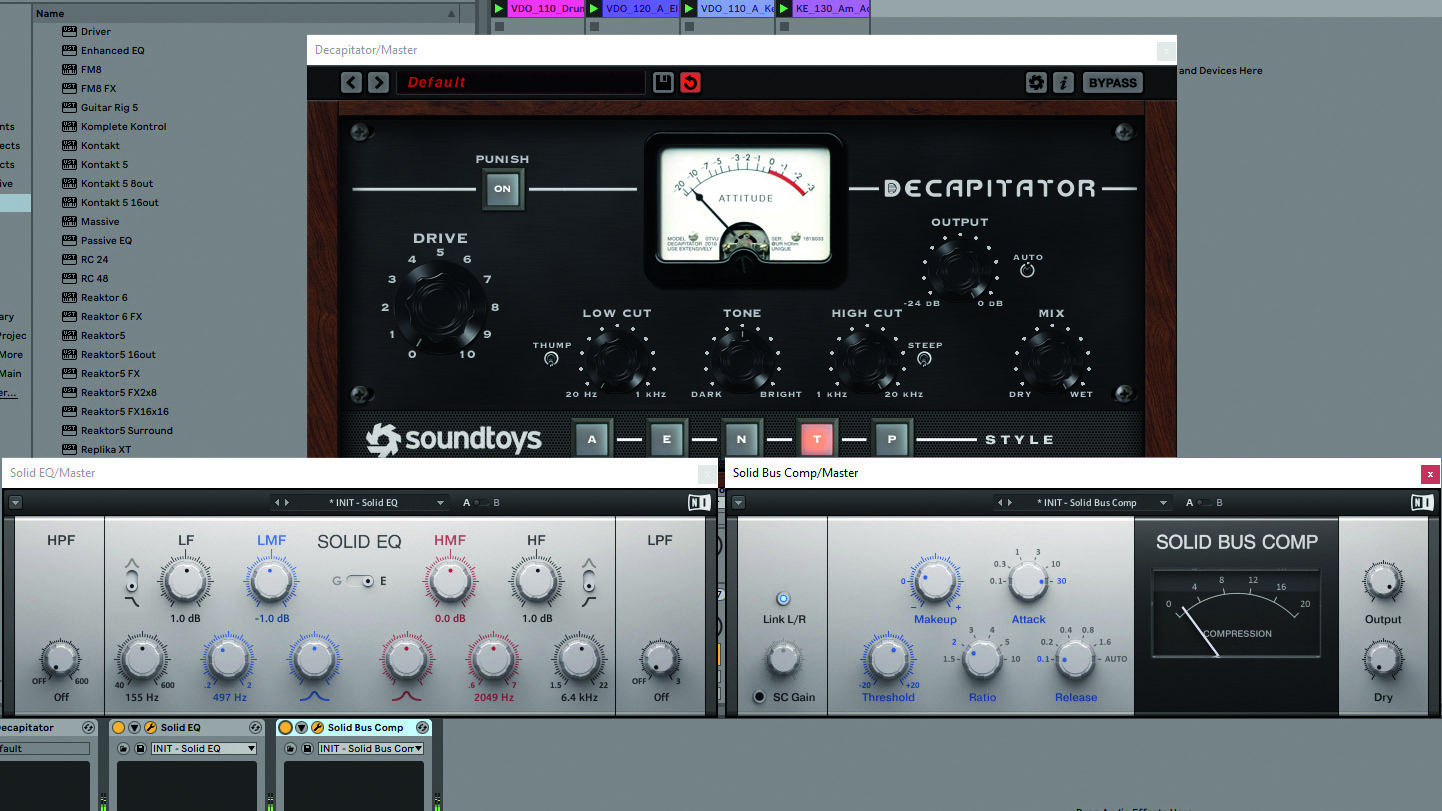
8. Vintage tones
Want to take your mixing back in time? Try using some age-appropriate processing! If you’re after a classic 1980s pop sound, say, start your signal chain with some tape saturation followed by some API-or SSL-flavoured analogue emulation EQ and compression. This’ll mimic an 80s analogue signal path, giving you a more convincing sound. With the multitude of plugins that emulate iconic studio gear from the 1940s onwards, a bit of research will give you all the information you need to create those retro sonics in the box.
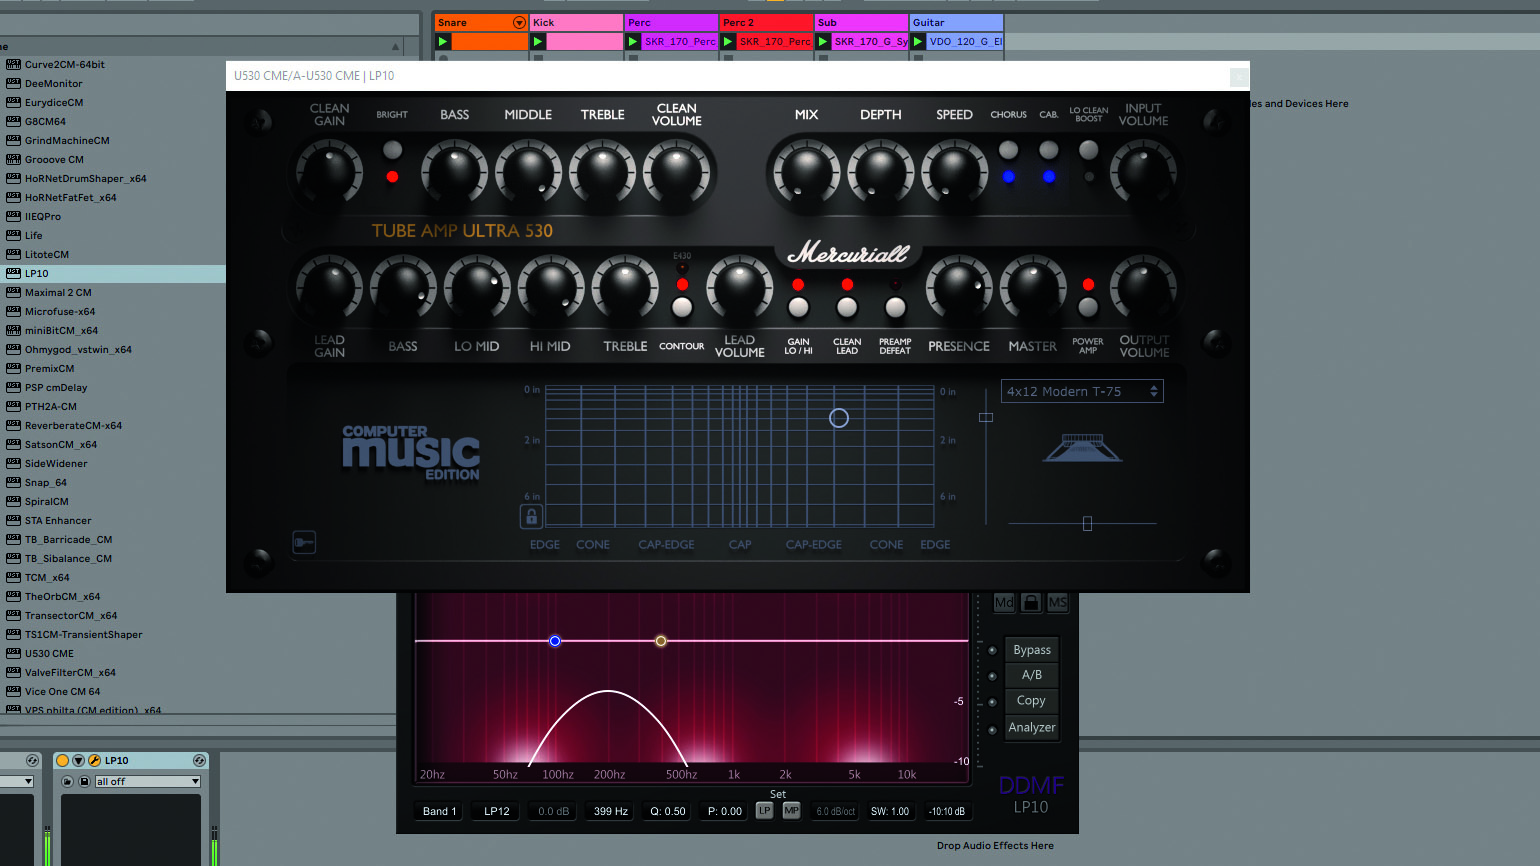
9. Bass translations
Sometimes, bass that rocks on big studio monitors can get lost in translation when heard on smaller systems such as phones, tablets or Bluetooth speakers, resulting in a hollow-sounding mix. In this situation, you can add extra weight by routing a bit of bass signal to a distortion FX aux, followed by some high- and low-pass filtering to isolate the frequencies between 100-400Hz. This lets you mix in extra richness and depth to the mix’s all-important low-mid frequencies, increasing the perception of bass weight on small speakers without distorting the low or high frequencies.

10. Chaining saturation
As with compressors and EQs, all saturation plugins differ in character – one tool may emulate a particular piece of outboard gear, while a clean, digital saturator may impart a more modern timbre.
Once you’re familiar with the palette of drive flavours at your disposal, why not stack ’em up? Placing multiple saturation in series can give you a truly unique sound. For example, route one saturation stage into another, then automate the first plugin’s drive amount to imbue an overly clean synth signal with custom grunt and movement.
Alternatively, try pairing classic tape drive with a digital-sounding saturator. Gentle tape saturation offers character without crushing the sound, which can then be pumped up by the cleaner plugin’s crisp weight.
Computer Music magazine is the world’s best selling publication dedicated solely to making great music with your Mac or PC computer. Each issue it brings its lucky readers the best in cutting-edge tutorials, need-to-know, expert software reviews and even all the tools you actually need to make great music today, courtesy of our legendary CM Plugin Suite.
"If I wasn't recording albums every month, multiple albums, and I wasn't playing on everyone's songs, I wouldn't need any of this”: Travis Barker reveals his production tricks and gear in a new studio tour
“My management and agent have always tried to cover my back on the road”: Neil Young just axed premium gig tickets following advice from The Cure’s Robert Smith


