10 simple sound design tricks to try in your DAW
Some quick and clever tips for creating and using your own sounds
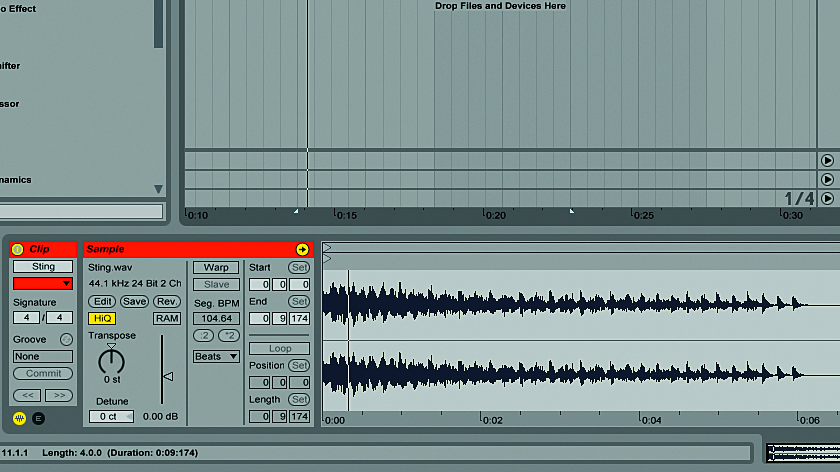
1. When it comes to the crunch...
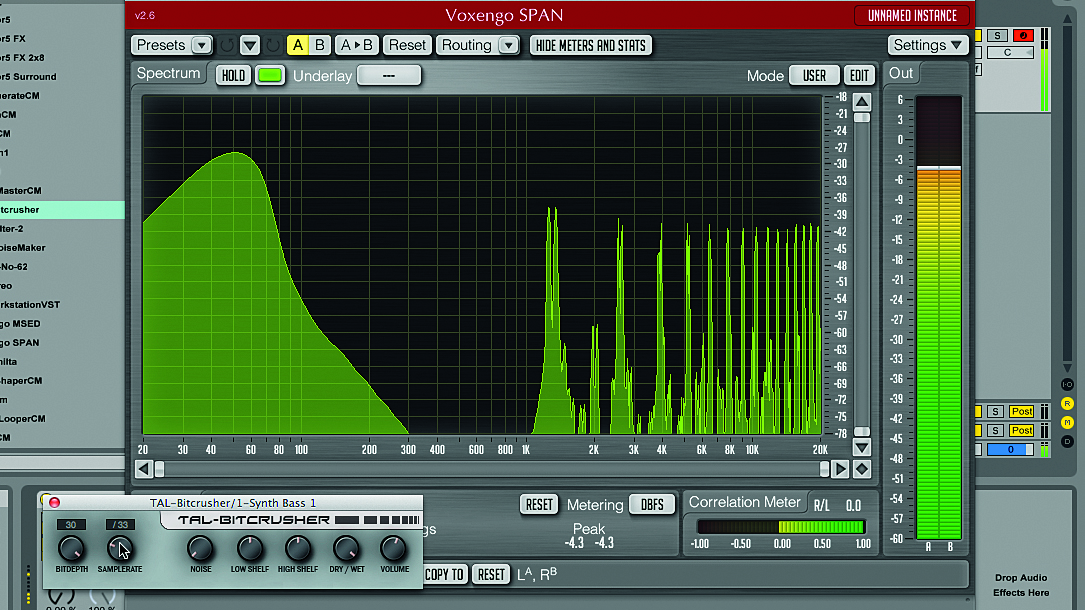
So-called “bitcrusher” effects that reduce sample rate and bit depth aren’t only useful for getting lo-fi sounds. The aliasing caused by sample rate reduction introduces high-pitched artefacts into a signal, and this can be useful if you want to imbue a predominantly low-end sound (for example, a bassline) with some crunchy character.
Bit-depth reduction can also make bass sounds grittier and severely reduce dynamic range when set to extreme values.
2. Get a shift on
If a sound isn’t filling out the frequency spectrum as much as you’d like, consider duplicating its track and pitchshifting the audio up or down an octave as appropriate. This can be especially useful for creating atmospheric vocal effects, or to help give weight to acoustic bass sounds playing in higher keys.
3. Bring the noise
If you’re struggling to give a sound the full frequency range impact you desire, consider adding a burst of noise at the start of it. This can either drop in volume rapidly or be filtered out with an envelope.
This technique works well with snares that have a solid impact but don’t really sizzle in the highs. Be sure to EQ out any lows that interfere with the main snare’s impact.
4. Let's gate it on
Gate effects, while intended as a mixing tool, also have their uses in sound design.
For instance, if a sound has a reverb tail you don’t like, you can use a gate plugin to silence it. Set the gate’s Threshold fairly high so only the wet signal passes through, then add your own reverb after the gate to replace the lost tail with one of your own design.
Get the MusicRadar Newsletter
Want all the hottest music and gear news, reviews, deals, features and more, direct to your inbox? Sign up here.
5. Move to modulation
Using reverbs and delays on sends is great for practical reasons, but it’s also handy for sound design purposes.
It’s common practice to use EQ after a reverb or delay plugin to filter out any extreme low and high frequencies that have crept in, but try adding modulation effects like a chorus, phaser or flanger to add more width, movement and character to the reverb, or transform the whole thing altogether.
6. Get real
A handy way to make a part that relies heavily on synthesised sounds a bit more organic is to layer it with its real-world equivalent – for instance, try putting a sustained string sound over a sawtooth-based ‘synth strings’ pad.
This gives you the best of both worlds: the full weighty body of the synthesised tone along with the natural imperfections and authentic character of the real-world sound.
7. Band-stop aid
An extremely quick and easy way to give a sound precise movement is to sweep a band-stop filter over it.
For example, put Philta CM into Notch mode and set its Highpass filter Cutoff just above the Lowpass one. Engage Link mode and use either Cutoff knob to sweep the filters up or down over the course of the sound.
8. Put some weight on
If you’ve got a sound with the right character but no weight, use a visual analysis plugin such as Spiral CM or your DAW’s audio-to-MIDI capabilities to discern its root note. Now use a sub or other beefy synth sound to play that note or the same note at a lower octave. Some fine-tuning of the synth’s amplitude envelope may be necessary to ensure that it sits naturally with the original sound.
9. Vary your vocoding
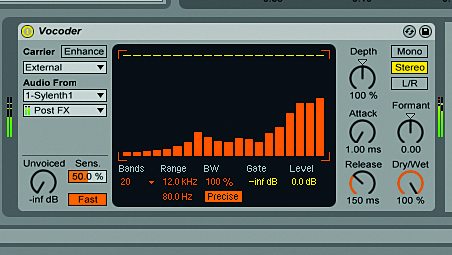
Using vocals as the modulator input for a vocoder creates the classic “talking synth” effect, but rhythmic loops and beats are a great alternative.
To give your sustained synth chords a more rhythmic feel, route them to a vocoder’s carrier input, and feed the modulator input with a drum loop or other rhythmic sound. Most vocoders will give you some kind of release time control that will allow you to make the rhythmic effects tighter or lazier.
10. Make your sample slot in
A sample’s character may be perfect, but it could be tricky to fit into a project if it has unwanted highs, lows or rhythms that make it sound messy. A modulated band-pass filter can help make such samples usable.

You can use this tip on any audio file that has unwanted peaks and troughs. We’re using Live, but pretty much any DAW will do as most of them have ‘auto-filter’ effects with built-in LFO-to-Cutoff frequency modulation.
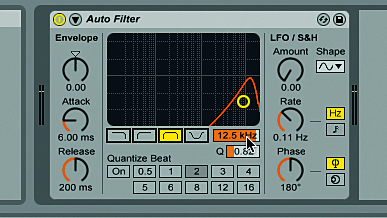
In our case, our chord has both a low rhythmic bassline and a high string sound that make it tricky to use as a sample. Add Live’s Auto Filter effect onto the audio track, and change its Filter Type to Bandpass.
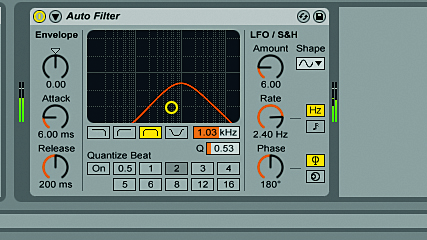
Set the Filter’s Cutoff to about 1kHz, and its Q to 0.5. This cuts out the bass and string, only letting a little of the chord through. To sweep the Cutoff frequency and hear more of the chord, turn the Amount to 6.00, and the Rate to 2.40Hz.
Computer Music magazine is the world’s best selling publication dedicated solely to making great music with your Mac or PC computer. Each issue it brings its lucky readers the best in cutting-edge tutorials, need-to-know, expert software reviews and even all the tools you actually need to make great music today, courtesy of our legendary CM Plugin Suite.


