How To Customise A Gretsch: The Full Story
The steps taken to turn a Gretsch G5120 Electromatic from an unboxed and brand new condition into something approaching the sheer beauty of the G6120SSC Brian Setzer
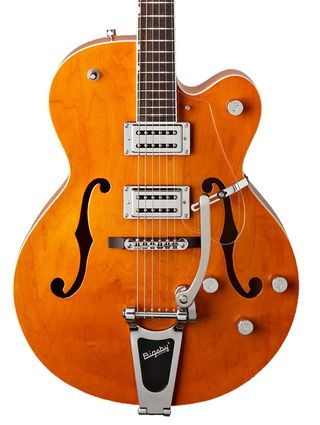
The G5120 in new condition
The final part of this story appears in the August issue of Guitarist magazine, but here's a brief synopsis of the steps taken to turn a Gretsch G5120 Electromatic from an unboxed and brand new condition, as pictured here...
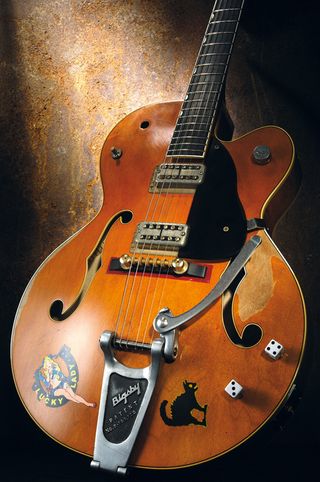
The G6120SSC Brian Setzer Tribute
Into something approaching the sheer beauty of the G6120SSC Brian Setzer Tribute built by master luthier Steven Stern, as pictured here. It wasn't easy, but we did get reasonably close. Reasonably...
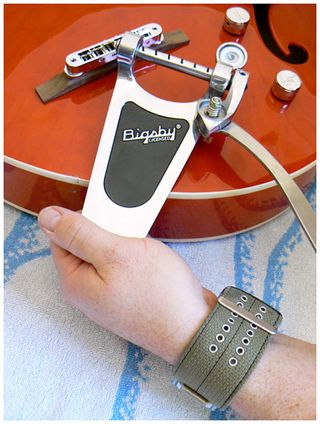
Removing hardware
First step was to remove all hardware, including the knobs, tuners and, here, the licensed Bigsby B6 waggle stick.
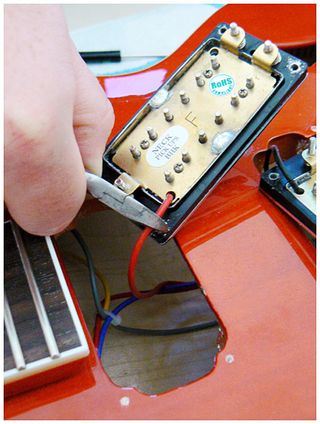
Removing the pickups
Next the electrics. We made sure that we snipped the wires as close to the pickups as possible, in order to save us time later on.
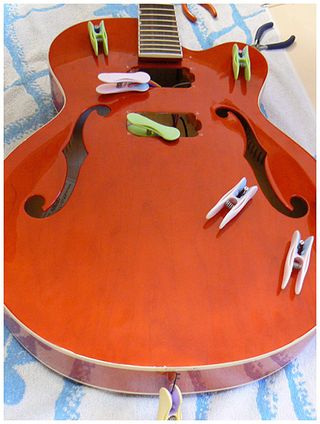
Keeping the wires secure
Here the loose wires, pots and switches are loosely secured with a series of large clothes pegs in order to stop them falling irretrievably into the guitar's body. Well worth it as getting anything out of such a guitar is a stressful experience if you don't have hands like ET...

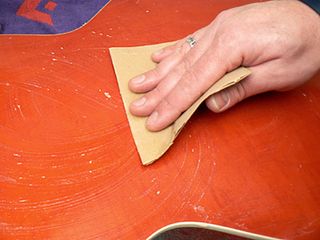
Hand-sanding the body
Let the sanding begin! Here we're using a heavy-grade of sandpaper to get through the clear finish coat of the guitar's top.
Sanding the guitar's rear
The same process but here on the rear of the laminated spruce body. We've dampened the paper with water to aid abrasion and to keep dust levels down.
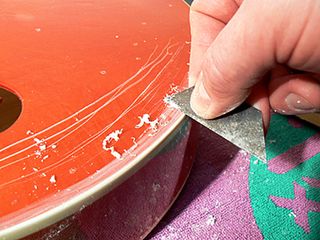
The start of the aging process
Here we're using a Stanley blade to begin the process of faux aging the top edge where the forearm would be in a playing position. Wear here is limited on genuine 1950s Gretsch guitars, so care is the order of the day.
...
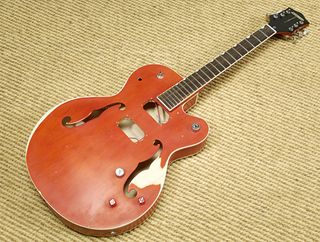
The end result
Here's the guitar with the basic body wear just about done. We've hit it with keys, gouged it with screwdrivers and subjected it to all manner of abuse to mimic half a century's worth of wear.
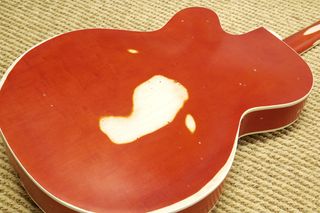
Some classic faux wear
This is the rear of the guitar. Just imagine you've been wearing a huge belt buckle for 50 years: this is the sort of damage you'd inflict!

Cowgirl decal
Finally, some close-ups of the finished article. Such a project would be incomplete without a cowgirl decal and dice knobs...

Fake Tone Switch hole
We drilled a hole for the Tone Switch that a G6120 would have been fitted with, but that isn't included within the spec of the 5120. We used a scalpel blade to authentically rough up the circumference too.
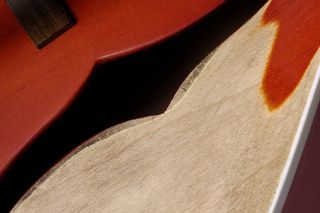
Faux pick wear
This is faux wear below the scratchplate. A rough paste composed of shoe polish, a smidgen of lemon oil and a handful of earth from the garden worked into the maple gives it this authentic dirty look.
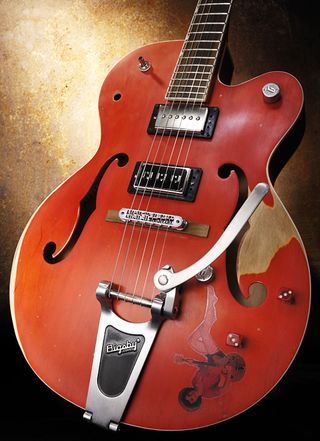
The finished article
The finished article, shot in the same style as with the G6120SSC. Not too bad for a first go, we reckon!
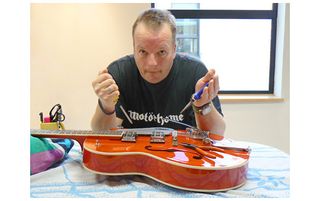
Our fledgling luthier
Here's the cack-handed luthier in all his glory. Mr Stern's sleep will remain undisturbed by concerns of this new kid on the block. For now at least...
Simon Bradley is a guitar and especially rock guitar expert who worked for Guitarist magazine and has in the past contributed to world-leading music and guitar titles like MusicRadar (obviously), Guitarist, Guitar World and Louder. What he doesn't know about Brian May's playing and, especially, the Red Special, isn't worth knowing.
