Get better electric guitar tone: 50 secret tips - zero snake oil guaranteed
Set-up tips, gear advice. Sound better now!

GUITAR SHOWCASE 2022: Tone... that mysterious, elusive quality that you know in your bones but can’t define in your head. The world’s top players spend their lives in its pursuit, while the rest of us chew over the minutiae of their sonic journeys.
It’s time to cut to the chase – here are the 50 steps that are stone cold guaranteed to help you sound better. It’s all pro advice, with no snake oil. Let’s do this.
1. Use fatter strings
If you’re after fatter tone, try using heavier strings. It can add juice and weight to your tone, especially if you play with a higher action.
Then again, both Brian May and Billy Gibbons of ZZ Top have played 0.008 gauge sets – and they’re certainly no slouches in the tone department. Billy Gibbons even had Dunlop signature strings in 0.007 gauge. Go figure...
2. Understand speakers
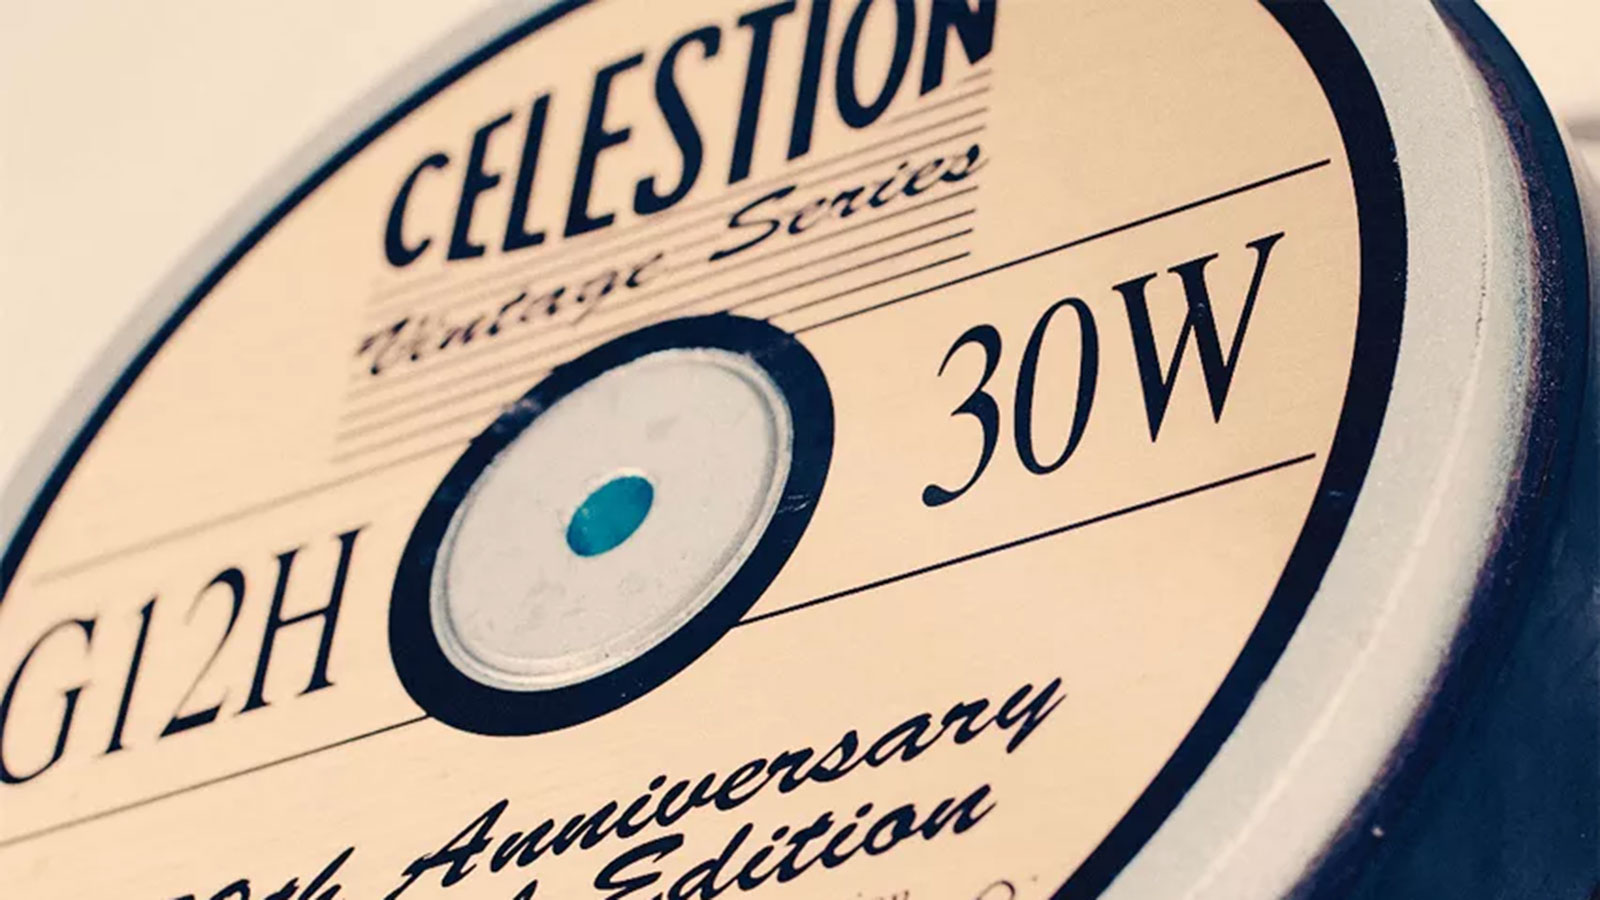
You barely give them a second thought, but speakers are where your sound comes from! And boy do they sound different. The variables are myriad, but the key spec points to understand are:
- Magnet weight and type – heavy magnets usually mean higher power handling. Ceramic and Alnico are the most common magnet materials; the latter usually associated with more vintage, 1960s tones. Most guitar speakers have ceramic magnets, with only a handful – headed up by the Celestion Blue – using Alnico.
- Power rating in watts – the higher rated your speakers are, the less they will distort under heavy volume. Too powerful and they can sound very squeaky clean; not powerful enough, and they can become a flabby mess, or fail entirely.
- Efficiency – also called sensitivity this is measured in dB at a distance of one metre. This has more to do with how loud a speaker sounds than its power rating. A Jensen P10R, for example, is rated at 95dB; a Celestion G12 65 at 97dB and an EVM12L at 100dB. The numbers don’t look that different, but the difference in terms of perceived volume is truly staggering.
3. Slap it on
If you’re playing live in an acoustically dead venue, try adding a very short slapback echo to your guitar sound – it should thicken up your tone nicely, counteracting the tone-sapping qualities of the venue.
Stuck for inspiration when it comes to which pedal to buy? Check out our round-up of the best delay pedals
Get the MusicRadar Newsletter
Want all the hottest music and gear news, reviews, deals, features and more, direct to your inbox? Sign up here.
4. Try a different scale length
The scale length of your guitar – the distance from the nut to the 12th fret, times two – influences tone more than you might think. All else being equal, the shorter, Gibson-standard scale length of 24.75 inches sounds different to the Fender standard 25.5 inches.valv
The latter has higher string tension at the same relative pitch, which returns more obvious note separation. We think it’s clearer and more strident, which may or may not be a good thing in your music.
5. PRO TIP: Get a grip

Joe Satriani tells us there’s much to be gained by thinking about how you hold your pick...
“The right hand is where so much is going on. If you’re pinching the pick and only a little bit of the plastic is coming out, that’s a better way of shaping or carving the tone, getting rid of some low-end and thinning out the sound.
"When you’re looking for fatter tone you let more pick stick out and you involve more pick mass in your strokes. More pick and less force gives you a bigger tone. That’s something I use a lot.”
6. Put a tone pot on your Strat's bridge pickup
Vintage-style Strats don’t have a tone pot wired to the bridge pickup, and as a result you’re missing out massively.
To make the mod, locate the wire connecting the second tone pot to the pickup selector switch (it’ll be connecting the middle pickup at this point). Move it one tag towards the middle of the switch, changing it from the middle pickup to the bridge pickup. That’s better, isn’t it?
7. Be clear
Excess handling noise can spoil the clarity and tone of your playing. Here’s a very general tip: if you’re getting unwanted string noise coming from a string lower in pitch than the one you’re playing, it’s the picking hand’s role to mute it with the palm.
If it’s coming from a higher string, it’s the fretting hand’s role to mute it with the underside of one or more fingers. Using spare picking-hand fingers to mute strings can be particularly useful when sustaining a note with vibrato.
8. PRO TIP: Understand the Fuzz Face
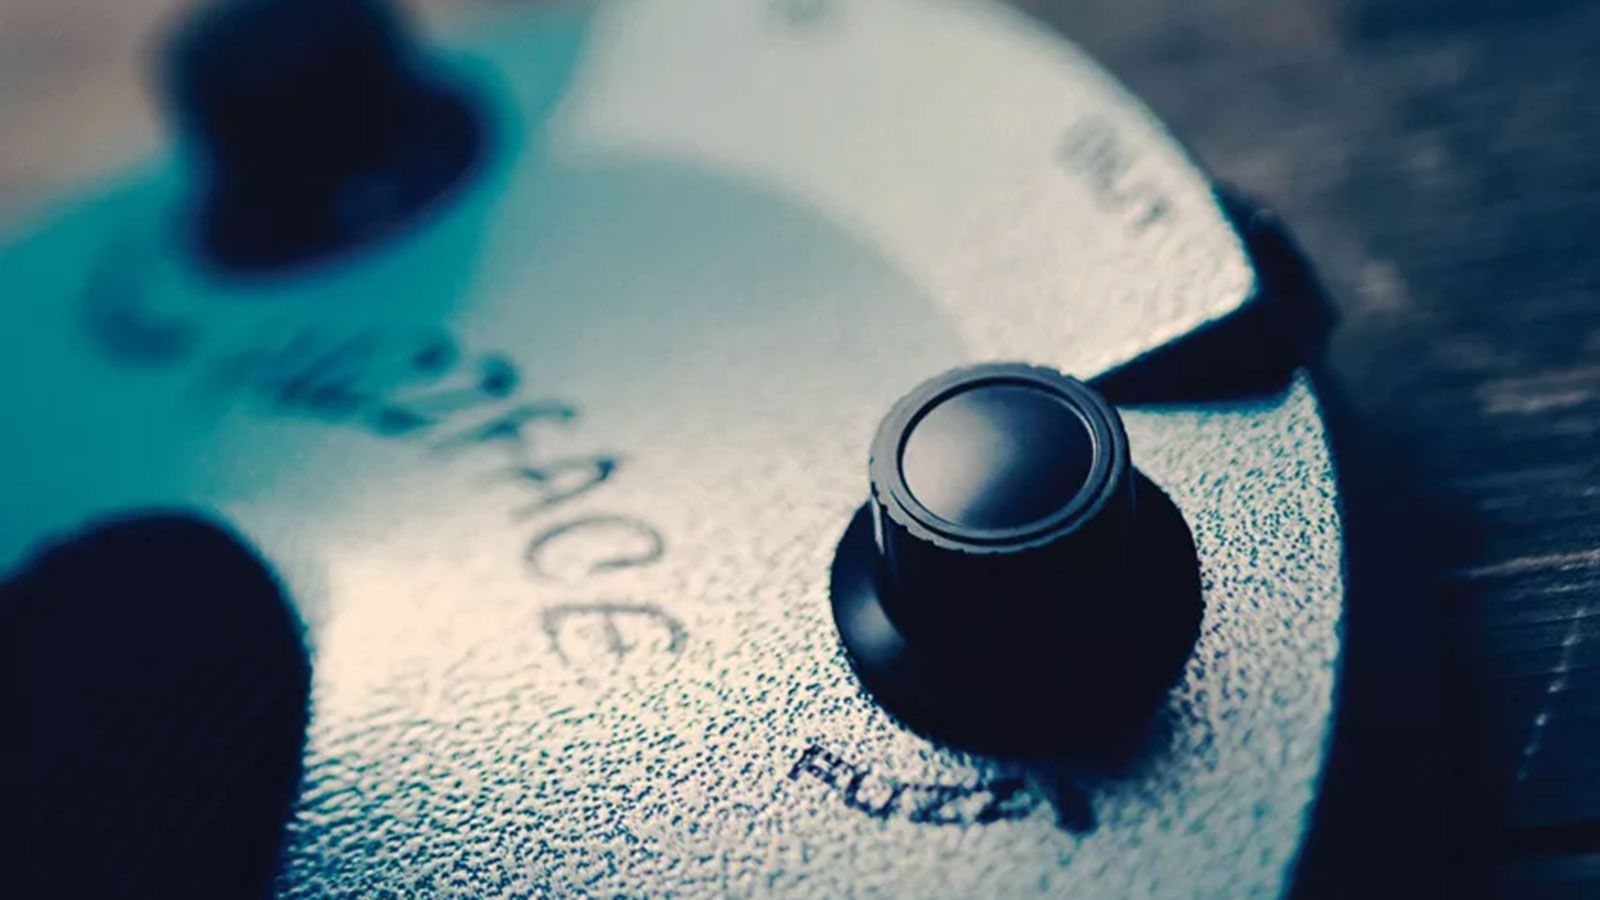
A lot of people struggle with getting a great tone from a Fuzz Face, so we asked Philip Sayce how he sets his up to sound quite so stonking...
“Turn the volume and fuzz up full, then ease back only to the point where the sound of frying bacon disappears. Now turn your guitar’s volume down, maybe to around half. It cleans up beautifully and it sounds great into a really loud amp.”
For context, Philip will also sometimes use a Tube Screamer or Klon Centaur in the chain after the Fuzz Face to give it all an extra boost along.
9. Remember Douglas
The answer to the ultimate question of life, the universe and everything.
That’s to say don’t look for answers before you know the question!
10. Go unplugged
Buy a good acoustic and play it a lot.
Not only do they sound fantastic, but it’ll promote sure, strong fingering when you switch back to electric, thus improving the clarity and sonority of your playing.
11. Get your board in order
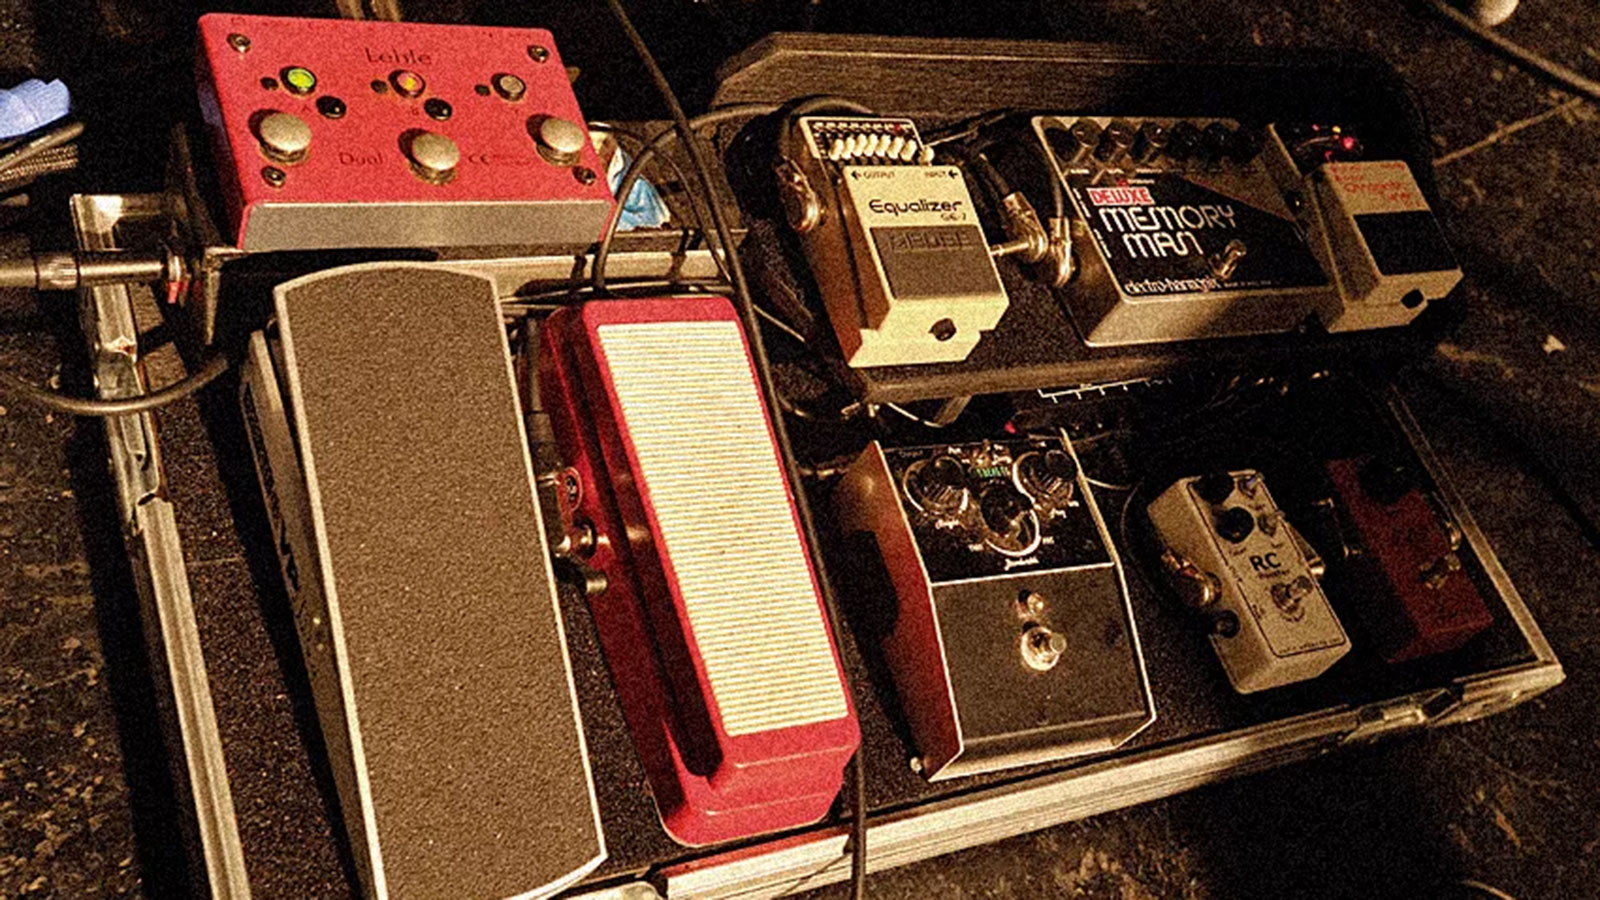
The order in which your effects pedals appear in the signal chain on your pedalboard makes a big difference to the resultant tone.
There are always compromises to be made, and there is no ultimate right and wrong, but if you start here then you’ll be in the company of many famous players.
- Wah and EQ manipulators work best before distortion and overdrive devices, near the start of the signal chain. The one exception is the Fuzz Face or any vintage-style fuzz, which needs to be slotted in before the wah.
Try it – put your wah before and after your distortion and listen to how different it sounds. Also, compressors tend to work best when placed before drive effects. - Distortion and overdrive effects should also come near the beginning of your signal chain.
We’ve come to prefer heavier distortions first, then lighter overdrives, then boosters. It’s worth knowing that some boutique boosts, overdrives and fuzzes only work best when they’re very first in line, however. - Modulation effects such as chorus, flanger and phaser usually work best after distortion. It’s worth mentioning that many analogue pedals – particularly Univibes and their myriad clones – often work better in front of distortion. Experiment.
- Delay and echo effects are designed to repeat what’s been played into them so place them towards the back of the signal chain. They’re also good when placed in your amp’s FX loop, if it has one.
- Reverb is the only effect that traditionally works best when placed after your delay effects and, as such, should be tail-end Charlie if you’re using a pedal rather than the reverb in your amp.
12. Play loud
It won’t save the rainforests, but the fact of the matter is that loud electric guitars sound better than quiet ones.
Play as loud as you can, wherever you can, but at the same time...
13. Be sensitive
You might think this is paradoxical to playing loud, but they’re totally interdependent if you want to sound good.
Here’s how you can do it. Turn your amp up as loud as you can stand it. Pick a note as hard as you can, then as softly as you can. Work on understanding the range in between the two and take time to consciously explore it in your playing.
14. Get some lessons
It doesn’t matter how good you are, you can always improve.
A good teacher or mentor will help you see the things you can’t, in order to improve your articulation and fluency. They’ll help you work on tone - crucial techniques such as vibrato, string bending, phrasing and so on - all of which will improve your tone just as much as that boutique, unobtainium stompbox you were going to buy.
15. Double (or more) your track

A common studio trick to create a much bigger recorded sound is to double-track the take.
If you’re disciplined, the best way to do it is by playing the exact same thing twice (or more) on separate tracks of your recorder.
A quicker approach is to duplicate the track and add a super-short doubling delay (less than 20ms), or the most minute amount of pitch shifting to simulate the natural differences in two takes.
New to recording guitars? Here are some of the best loadboxes and cab sims for recording guitar amps
16. Turn your bass pot down as you get louder
What sounds like the ultimate guitar tone when you’re practising alone at home won’t sound so good when you’re playing as part of a band.
You’ll want to dial in some more bass when playing quietly than you will when you’re playing loud. Too much bass – especially with lots of drive and when using neck pickups – can mean a muddy, indistinct bottom end that clashes with the bass guitar and the kick drum.
17. Play in Eb
Clearly not universally applicable, but it’s astounding to hear the sheer difference in tone that just one semitone down can bring.
Jimi knew it, SRV knew it, Philip Sayce knows it. Every string down a semitone – as long as the rest of the band joins you, you will sound bigger.
18. Turn down the gain
Heavy distortion is a warm, comfortable place to be and you might think it makes your tone massive.
In fact, too much gain often equals too much compression and that means nobody can hear you properly. It’s why clean sounds often seem louder than dirty ones. Back off the gain and your tone will sing out more clearly in the mix. Also true for recording.
19. Screw your tailpiece down
Plenty of Les Paul users say the guitar is more resonant with the tailpiece screwed down to the body.
However, that may result in a too-steep string break angle from tailpiece to the tune-o-matic bridge. No problem, simply string it the other way, like a wraparound, à la Joe Bonamassa. It’s gotta be worth a try, right?
20. PRO TIP: Have your frets levelled
Simon Bamber, set-up tech, Waghorn Guitars: “Frets can become worn over time, especially under the G and the B strings – you find that where people have been bending a lot they’ve flattened the tops of the frets off completely.
"But if you have them levelled and polished, you get a nice point down the middle of the fret so it’s always going to sound clearer. That definitely helps to give your tone a bit more clarity.”
21. PRO TIP: Know your amp better
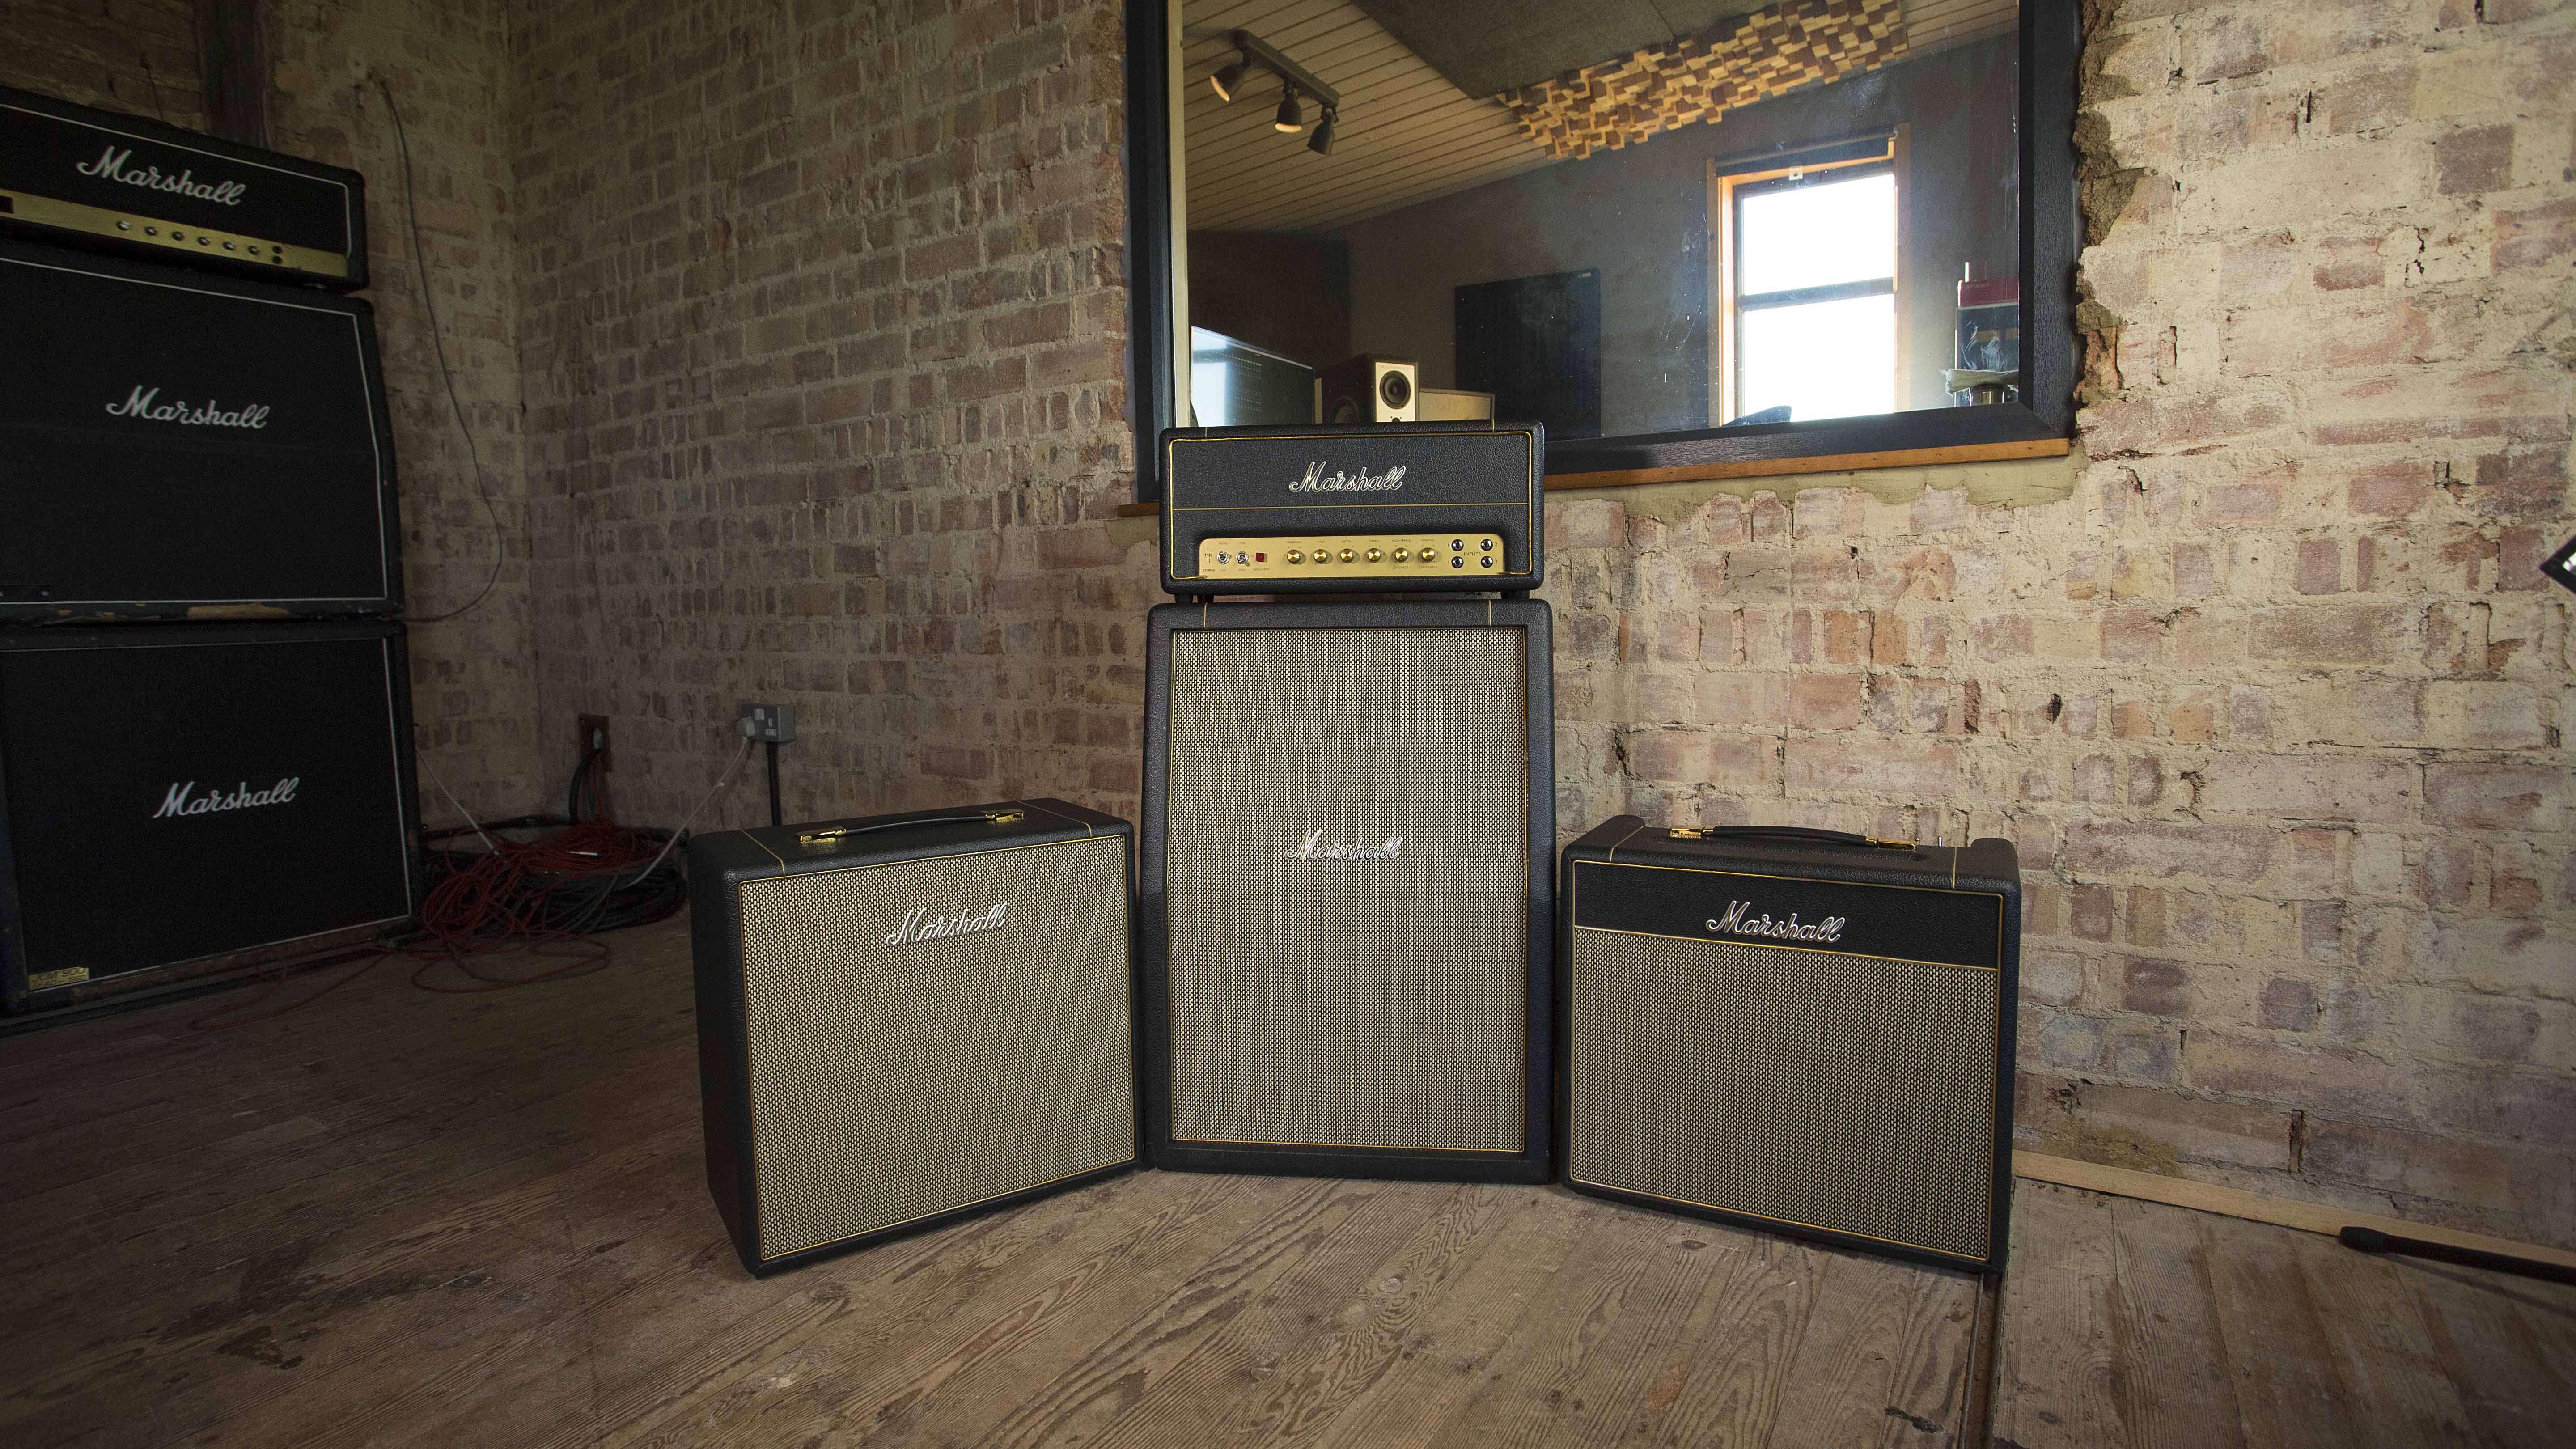
Chris George of Marshall Amps has played through more high-end valve amps than most rock stars, and advising how to get the best from amps is his daily bread and butter. We asked him for his tips on keeping your valve amp toned...
How often should I change my valves?
“I speak to guys who change their valves meticulously every six months but there are others, including myself, who leave it a bit longer. If you’re playing an amp on a regular basis it’s a good idea to change your output valves once a year.”
What are the tell-tale symptoms of your amp having worn-out valves?
“Anything from strange microphonic whistling, to a lack of output or the amp not responding how it should in terms of volume – you may feel that you’re having to push the volume much higher than usual.”
You can notice the difference between an amp that’s been turned on for only five minutes and an amp that’s been sitting there [switched on] for 45 minutes
Chris George, Marshall Amps
What else can I do to get reliably good tone from my amp?
“To extend valve life, turn your amp off after a gig and let it sit for a few minutes before moving it. And vice versa: as soon as you’ve got a power cable to your amp turn the juice on and let it warm up for as long as you can. Tone-wise, you can notice the difference between an amp that’s been turned on for only five minutes and an amp that’s been sitting there [switched on] for 45 minutes.”
How can I find the best settings for my amp?
“If you’re using an amp for the first time, set all the dials straight up in the 12 o’clock position so you’re getting equal values of everything. From there, fine-tune the settings. Or try Zakk Wylde’s method – max everything out, then take away the parts you don’t want: but be careful!”
How does presence influence tone?
“The difference between what treble and presence do is a good thing to experiment with – particularly on a Marshall. If you take all the treble down and bring all the presence up you get a more generic, square, in-your-face kind of sound, rather than the very precise sound of what treble can do when it’s maxed out.”
Anything else?
“A valve amp wants to be turned up. If you can get your master volume up to about three quarters then you’re in heaven!”
22. Steel yourself
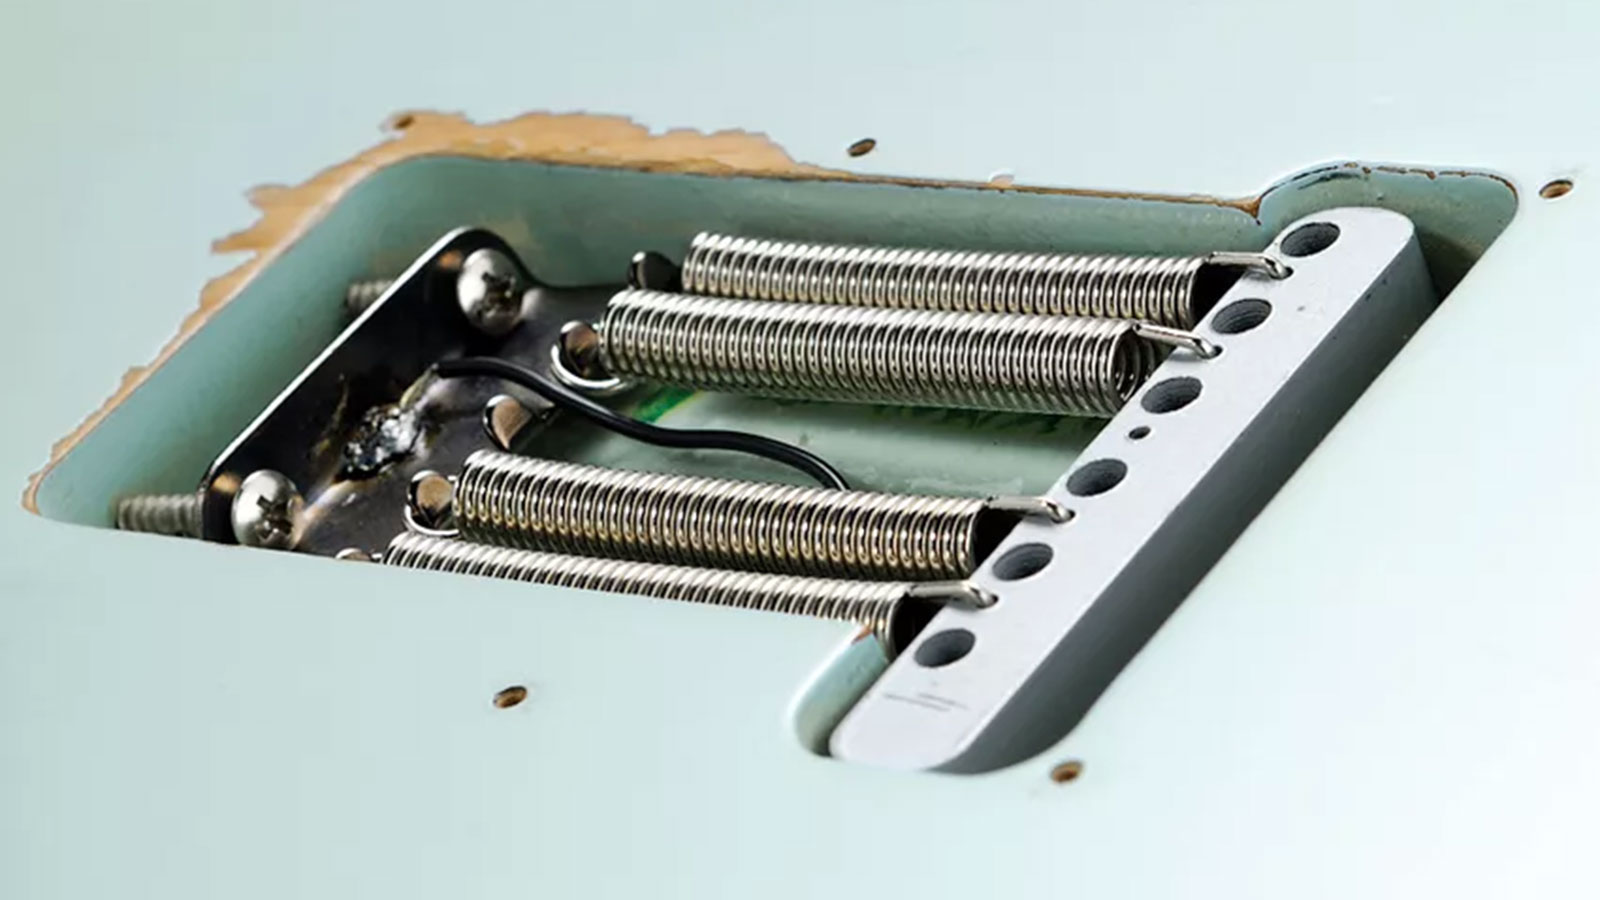
This one’s for those who have Strats with a zinc, or leaded-steel vibrato block (ie, nearly all of them).
Try swapping the standard vibrato block for a non-leaded steel replacement – Callaham makes the best ones. If you play loud and live you’ll hear a noticeable improvement in the sustain, depth and focus of your tone. Make sure you get the right size for your guitar, though.
23. Go potty
If you have a lower/mid–price guitar, you can improve things by replacing the standard wiring and potentiometers. Of key interest is the pots’ resistance value because the cheaper they are, the more they tend to vary.
A Strat, for example, can sound very different with 300k or 200k pots (the ‘correct’ value is 250k). Likewise, 300k and 500k pots – both common fitments – sound quite different in a Les Paul or ES-335.
If you’re replacing low/mid-range pickups, we’d do this as a matter of course. The wire gauge isn’t really important over short wiring runs like this, but for reference, Gibson and Fender’s vintage spec favours 22-gauge, tinned, stranded wire.
24. Try a new cap
The capacitor(s) in your guitar’s tone control influence its sound greatly. The lower the cap’s value, measured in microfarads (uf), the less high end it will scrub off as the tone control is turned down.
So if you reckon your guitar sounds too muddy and it is fitted with a 0.047uf cap, try fitting, for example, a 0.022uf or smaller cap instead. A lower value cap will also make more of the pot’s range useful.
For reference, vintage Fenders had 0.1uf caps – very dark sounding and virtually unusable throughout most of the range of the pot. Also, for reference, 0.047 microfarads = 47,000 picofarads.
25. Don't skimp on your cab
Hands up who has bought a posh amp head and ‘economised’ on a lesser speaker cabinet?
It’s a complete false economy – your amp needs the right cab to sound at its best. Different cabs sound radically different – we’ve heard well-designed 1x12s sound bigger, fatter and louder than cheapo 4x12s. You have been warned.
26. PRO TIP: Maximise playability for better tone

Roger Bucknall, founder of Fylde Guitars, says that a setup (and a smile) can go a long way...
“Playability can nearly always be improved on a shop-bought guitar. If you get it set up by a competent repair person, you'll find everything is so much easier to play. Smile at them nicely so they don’t charge you too much and they’ll adjust the saddles, the straightness of the neck and level the frets.
“If that person is any good they will improve the playability of the guitar a lot. That will automatically make you more comfortable with the guitar and make it more possible for you to get a good sound out of it.”
27. Set your intonation
This is utterly essential to making chords and notes ring out sonorously all over the neck. A badly intonated guitar will sound bad! Either get it done by a professional, or do it yourself...
- Play a harmonic at the 12th fret.
- Compare its pitch to the note produced when youfret a note normally at the 12th fret.
- If the fretted note is sharper than the harmonic, adjust the saddle to move backwards slightly. If the fretted note is flatter than the harmonic, adjust the saddle forwards slightly. Remember FFF: fret, flat, forward.
- Repeat for each string until 12th fret harmonic and fretted notes are equal in pitch on all strings.
28. PRO TIP: ‘Connect’ with your hands
John Petrucci says it’s time to listen to, er, your hands...
“The guitar is probably the best instrument as far as manipulating tone goes, because there are so many ways that you can attack notes [such as] where you play on the neck and where you attack the strings.
"You need to be really connected and ‘in the moment’ with what your hands are doing. If you do that and you notice the subtleties, it’s going to open up this incredible world.”
29. Play fewer notes
In all seriousness, try it. The next time you go for a blues solo, instead of trying that fast run that you always fluff, try constructing a simple melody, one or two notes per bar.
Be disciplined and concentrate on the feel and emphasis of each note as you play through chord changes (preferably choosing notes relevant to the chords, eh?). Watch how the audience responds better to that than a barrage of 32nd notes. Why? Because you sound better.
30. Spring to action
If your guitar has springs to balance its vibrato system – the vast majority of Fender Strats, for example – those springs are making a sound of their own.
Play the guitar acoustically and you’ll hear a kind of reverb that can end up finding its way to your amplified sound. First, try dampening the springs with foam rubber fingers down the centre of them, and second, play the guitar with the back plate on and off. Eric Johnson says having it off gives more gain. Honestly.
31. Try a 5751
The preamp section of your Fender-style valve amp will usually have a 12AX7 in the first and second positions (the first and second preamp valves).
If you find your amp sounds in any way harsh, edgy or breaks up too quickly, try a lower-gain 5751 instead, first in V1, then in V2. Stevie Ray Vaughan liked them, so the legend goes.
32. Pimp your volume pot
Standard guitar volume controls cause a loss in treble when you turn down the wick. That’s because, as a side-effect of altering volume, they act as a low-pass filter (allows bass to pass but screens off treble).
To get round this, you can do a treble-bleed mod. This is either a capacitor, or a resistor and a cap, wired, usually in parallel, to the pot. Popular combinations are a 150k resistor with a 0.001uf cap, or 100k/0.002uf. The sentries report that there are wiring diagrams on the internet. Thaaasands of ’em!
33. Optimise your pickup height
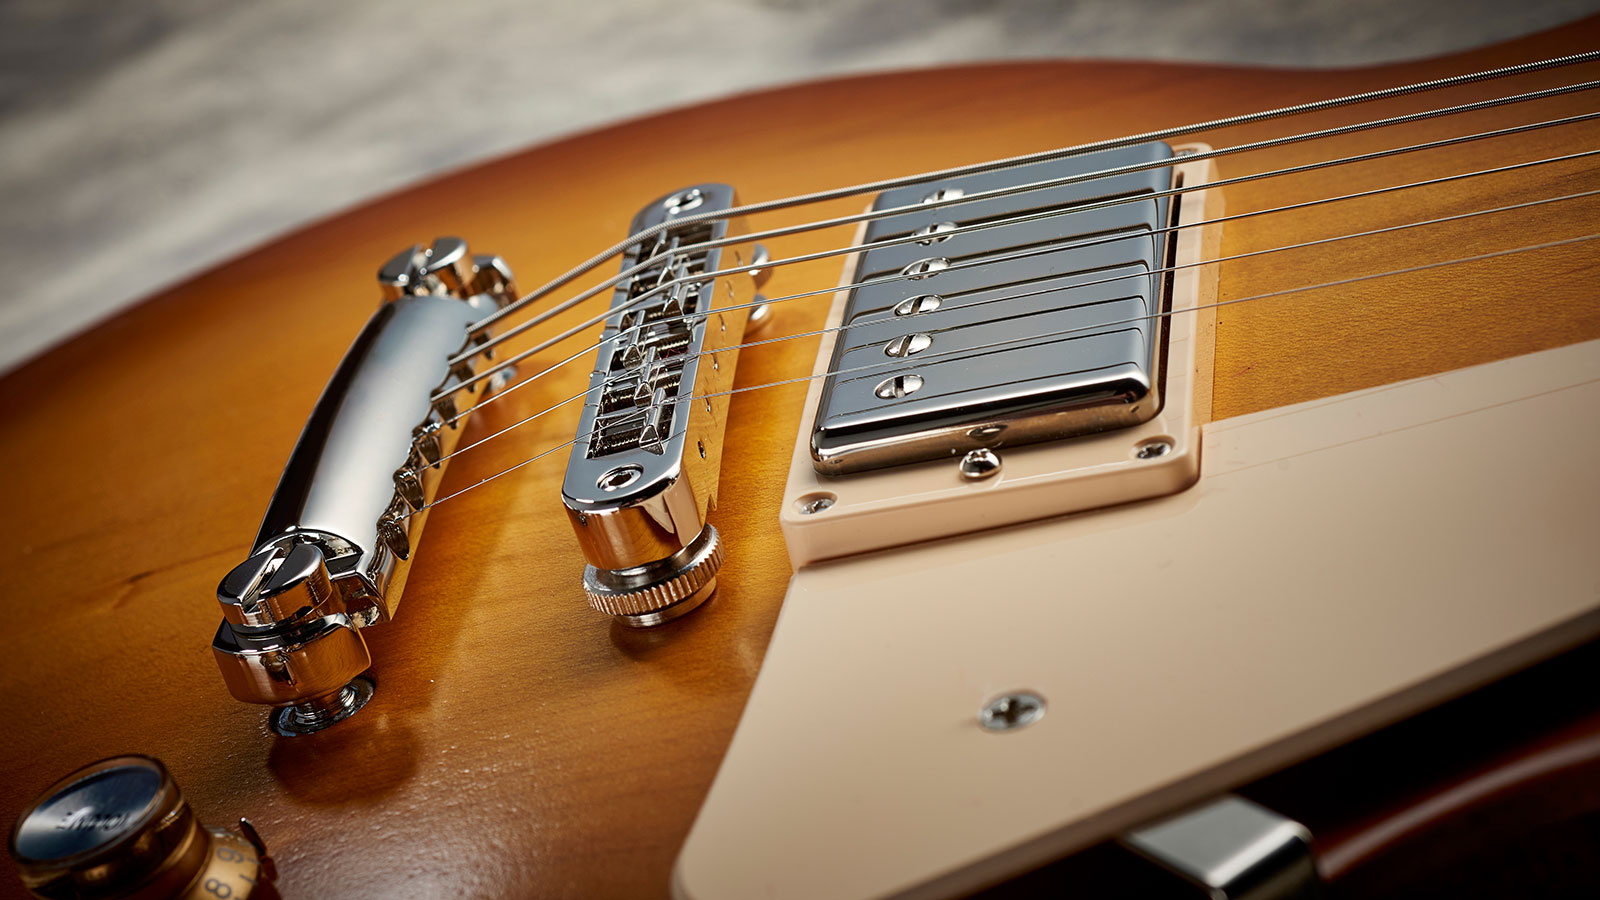
To get the best out of your guitar, it's important that the pickups are adjusted to the right height. The closer they are to the strings, the louder they will sound, but as always, it's not just a case of louder is better...
HUMBUCKERS
As a rule of thumb, humbuckers can sit as close as you want for the volume you want. To begin, fret the top and bottom E strings at the final fret. Using a steel rule, adjust the humbucker’s height until its treble and bass sides both sit evenly 2.5mm beneath the fretted strings.
SINGLE-COILS
Strats should be adjusted to sit with the treble side slightly higher than the bass for a good tonal balance. Fret the two outer strings at the final fret, then adjust the pickups so the polepiece tops sit 2.5mm and 3.5mm from the treble and bass E strings respectively.
Watch out for wolf notes – these occur when the pickup’s magnetic field is too close to the string’s field of movement, preventing it from vibrating naturally. Step away from the strings, sir!
BALANCE
Strings vibrate more freely near the neck than they do at the bridge, meaning neck pickups sound louder for a given height – so a little experimentation with relative height settings may be necessary to establish a good balance in volume between pairs or trios of pickups.
Tim Mills of Bare Knuckle Pickups explains: “The signal on the bridge coil is going to be much thinner and brighter because the string’s barely moving. It’s literally just off the saddle and over the coil. By the time you get to the neck pickup, the strings are able to move much more freely.
"These days, modern pickup makers try to allow for that by calibrating the wind as you go from bridge to neck, so hopefully you’re not having to make such an extreme height adjustment between two or three coils.”
34. Raise your action
Have we taken leave of our senses? Nope.
If you play blues or classic rock, your strings need to vibrate, and they can’t do that fully if they’re rattling on the frets. It’s harder work, but in classic genres, a slightly higher action simply sounds better. Yes it does.
35. Know what you're bypassing
You’ll find true-bypass switching on many boutique pedals. It means that when the effect is off, the signal from the guitar travels directly from the input to the output jack without passing through any other circuits. It’s good if you use minimal effects, short leads and love the sound of your amp.
Most ‘normal’ pedals, meanwhile, contain a buffer preamp that gives the signal a helpful shove as it passes through the deactivated effect, but without adding gain. This can help to overcome treble-sapping capacitance that can occur in long chains of true-bypass pedals linked together.
Tone nerds say non true-bypass pedals sound ‘bad’. Everybody else adjusts their other settings accordingly.
36. Know your strings
The blend of metals used in different common string types influences tone greatly. The ones we know best are round-wound, nickel-plated steel, such as Ernie Ball Slinkys, D’Addario XLs and so on.
Tonally they sit pretty much in the middle, flanked by the generally more expensive pure nickels that have a marginally more rounded, ‘vintage’ tone; and stainless steel that sound altogether hotter and brighter when new.
Flat-wound strings produce a more blunt, jazzy tone. Give them all a try to find what works best for you.
37. PRO TIP: Learn more about pickups

Bare Knuckle’s Tim Mills has a formidable reputation in top-flight, hand-wound pickups to suit nearly every imaginable playing style, who better to ask about pickups?
How does the magnet at the heart of a pickup influence tone?
“A magnet doesn’t have a tone, per se – you can’t put it to your ear and hear anything. It’s really the engine that drives the coils in a pickup. In a humbucker you’ve got a bar magnet located under the coils; if it’s a Stratocaster or a Telecaster you’ve got magnetic rods that are in the centre. But essentially they’re all doing the same thing: throwing up a magnetic field that the guitar strings vibrate in when they’re plucked.
As a general rule, the more powerful the magnet the more high frequencies you’ll get, and also the more low frequencies as well
Tim Mills, Bare Knuckle
“The pickup translates those vibrations into an AC signal that goes down the guitar lead, via the volume and tone pots, and into the amplifier – and the speaker then re-shapes it back into sound. So different types of magnet produce different effects – and that’s where you can say a magnet has a ‘sound’.
“As a general rule, the more powerful the magnet the more high frequencies you’ll get, and also the more low frequencies as well. The high frequencies don’t really need a lot of power to drive them, but the bass frequencies do. However, it’s also down to the coil windings you use and the gauge of wire. So it's not just the magnet that’s responsible for the change.”

How does that relate, tone-wise, to the common types of magnet used in pickups, such as Alnico and ceramic?
“Take a humbucker wound with 42-gauge wire as a benchmark. With an Alnico II magnet, it would have a warm, soft bass response, a very sweet high end and a slightly pronounced mid- range. Alnico III, funnily enough, is not quite as strong as Alnico II. So, the highs tend to be more muted and rounded. Probably the best way to imagine the sound of Alnico III is to think of the early 1950s when this form of magnet was very common. Think of the sounds of the jazz and clean guitar tones from that time – that plummy roundness.
“Move up to Alnico IV and the power rating comes up and the frequency response flattens out – you get a balanced and natural- sounding response from the coils, but not so it’s boosting the treble. The mid-range stays quite constant as well. And then you go to Alnico V, which has the highest power. Then the bass and treble do get boosted and the sound starts to get more aggressive – more ‘rock ’n’ roll’, for want of a better term.
To have a truly open voice it’s got to be dynamically responsive – and that’s what scatter-winding [intentionally irregular hand-winding of a pickup coil] does
Tim Mills, Bare Knuckle
“Ceramic is a much more powerful magnet again [than Alnico V]. The bass and treble get boosted significantly. A lot of people think ceramic magnets scoop the mids out, but when you analyse it you find the mids tend to stay where they are – it’s just that the bass and treble get boosted so much you get a V-shaped taper in the EQ. Ceramic pickups tend to suit players who need a very fast and percussive pick attack.”
Do hand-wound pickups really sound better?
“The bottom line is you get a better dynamic response from the coil. Most people who play a hand-wound pickup say it sounds more ‘open’. It’s easy to make a pickup sound brighter but to have a truly open voice it’s got to be dynamically responsive – and that’s what scatter-winding [intentionally irregular hand-winding of a pickup coil] does. Also, compared to a machine-wound coil, the frequency response is slightly extended. So the sound is bigger and you hear more not just in the high frequencies but also in the depths of the frequency response.”
38. Improve your humbucker's coil split tone
Loads of humbucker-equipped electric guitars have coil-split switching options. The majority simply dump one of the humbucker’s coils to ground, leaving just one working. It can result in a rather thin single-coil tone.
PRS recently started using quite an old idea (first suggested to us by guitar/amp technician Brinsley Schwarz). You simply add, in series, a resistor between the pickup ‘tap’ wire and ground.
This mod, “doesn’t completely cancel the slug coil,” explains Smith, “it sort of three-quarters coil cancels. It allows some of the other [slug] coil through. It’s also slightly hum- cancelling.”
PRS uses a 2.2k ohm resistor on the neck pickup and a 8.8k ohm resistor on the bridge pickup.
Alternately, the late Brit luthier Sid Poole showed us a good one, using a 4.7k ohm variable resistor (sub-miniature fully enclosed carbon preset potentiometers from Maplins, 49p each) mounted onto the control cavity backplate. This enables you to dial in the amount of the ‘dumped’ coil you want to hear.
39. Try a different lead
This is all about capacitance: the longer your guitar cable, the more capacitance it will have, and the more high end it will chop off your sound. High capacitance is more common in cheaply made leads, but it’s important to say it’s not necessarily a bad thing.
Fact: if you want a zestier, brighter tone, try using a shortish cable with a capacitance figure of less than 100pF/metre. Likewise, if you have a bright-sounding guitar and want to tame it slightly, try a longer cable with 140pF/ metre or higher. Middle and bass frequencies are less obviously affected.
40. Stop tickling your guitar
This is an extension of learning your parts properly.
If you’re fluffing over a chord change, a tricky melody, or wimping out on a bend, you will sound bad. Don’t tickle it – play it, but do make sure you understand the crucial difference between tickling and...
41. Play with dynamics
You don’t have to play everything at full tilt.
Try easing back the guitar volume during a solo and switching from pick to fingers to offer an extra tonal dimension to your performance. Variation is the key to keeping the audience interested and engaged.
42. Use your plectrum's tone
They’re the cheapest part of the tone equation after your hands, but picks have a profound effect on tone.
Relatively soft materials such as celluloid produces a flatter tone than stiff nylon picks, which can enhance snap and clarity. Super-thick picks are good for single-note speed and articulation, but lose out in general usability because they can be awkward to strum with.
Similarly, a more pointed or rounded tip can sound respectively sharper or duller – seriously! Try using a metal pick too.
43. Use two amps
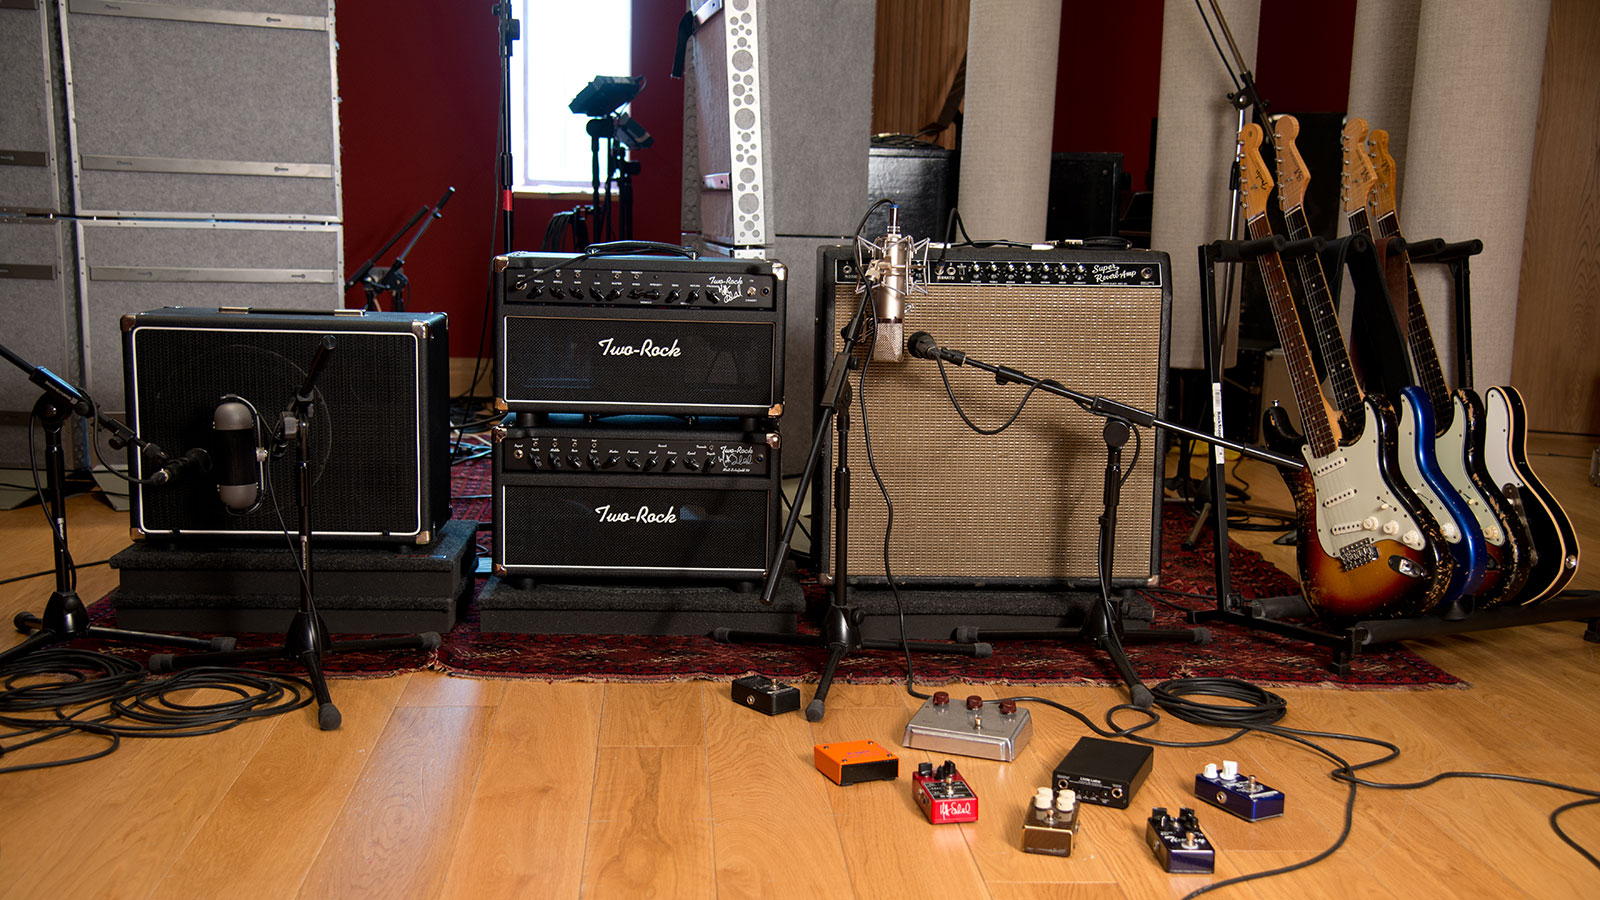
Ever wondered how somebody’s tone is distorted yet still clean and clear?
It might be that they’re using two amps; one set to be very distorted, the other much cleaner, or emphasising a specific set of frequencies. Mixed together the sound becomes massive. Try it.
44. PRO TIP: Set up any amp quickly

UK blues artist Matt Schofield tells you how to find the sweet spot on any amp.
“I’ll tell you how to dial in any amp in the world and have it sound as good as it can. I dial any in amp like this, because I do a lot of fly-in gigs, and I’m not always able to take my own amps. Usually it’s a Fender ’65 Twin Reissue, or the Hot Rod amps – sometimes a Marshall DSL. But whatever it is, this is how it works for me.
You’ll find that every pot has an obvious cusp point in its rotation
“You’ll find that every pot has an obvious cusp point in its rotation – every single one – where it goes from not doing much, to where it really kicks in. So I sweep through the pots one by one and find those spots. All amps will do this – bass is especially easy to hear... nothing, nothing, nothing, then bang, there it is!
“Gain is just the same, master... and so on. Maybe reverb not so much – just put that where you like it – but all the others have a strongest sweep point in the rotation, so I find it, and that’s where it gets set! It’s the same with any pedals, all drives and tones – that’s how I set my Providence SOV-2 as well, for example.
“If you do that, the amp is set as evenly as it can be; not too trebly, not too dark. With everything set right on the cusp, you can push it over by digging in, or pull it back by playing softer. It makes everything really responsive and sensitive to what you do. The rest is up to you!”
45. Use two overdrive pedals
This is one for blues and rock players who use good valve amps, especially Fender-derived.
Use just your clean channel and hook two pedals up to it – two Ibanez Tube Screamers, for example. Set the first one in the chain with high gain and medium volume, and the second with low gain and high volume.
Turn on the first one, play. Now the second one, play. How loud?! And it sounds fantastic, doesn’t it?
46. Learn your parts
Seriously, this is important and indeed obvious. Learn your material inside out and you’ll be free to focus on expressing yourself with confidence and flair when it comes to gig time.
Your tone will improve hugely and your audience will thank you for it.
47. Make your bridge single-coil pretend it's a humbucker
This is all about your guitar’s tone control and extra overdrive.
First, add tons of overdrive to your sound via a decent, mid-rich pedal – two pedals preferably, in line with step six. Don’t be tempted to turn the treble down on your amp or pedals – around six to eight, no lower.
Now keep the guitar’s volume up full, but knock the bridge pickup tone control down to about half or lower. Sounds much more like a humbucker, right?
48. Use the right size amp
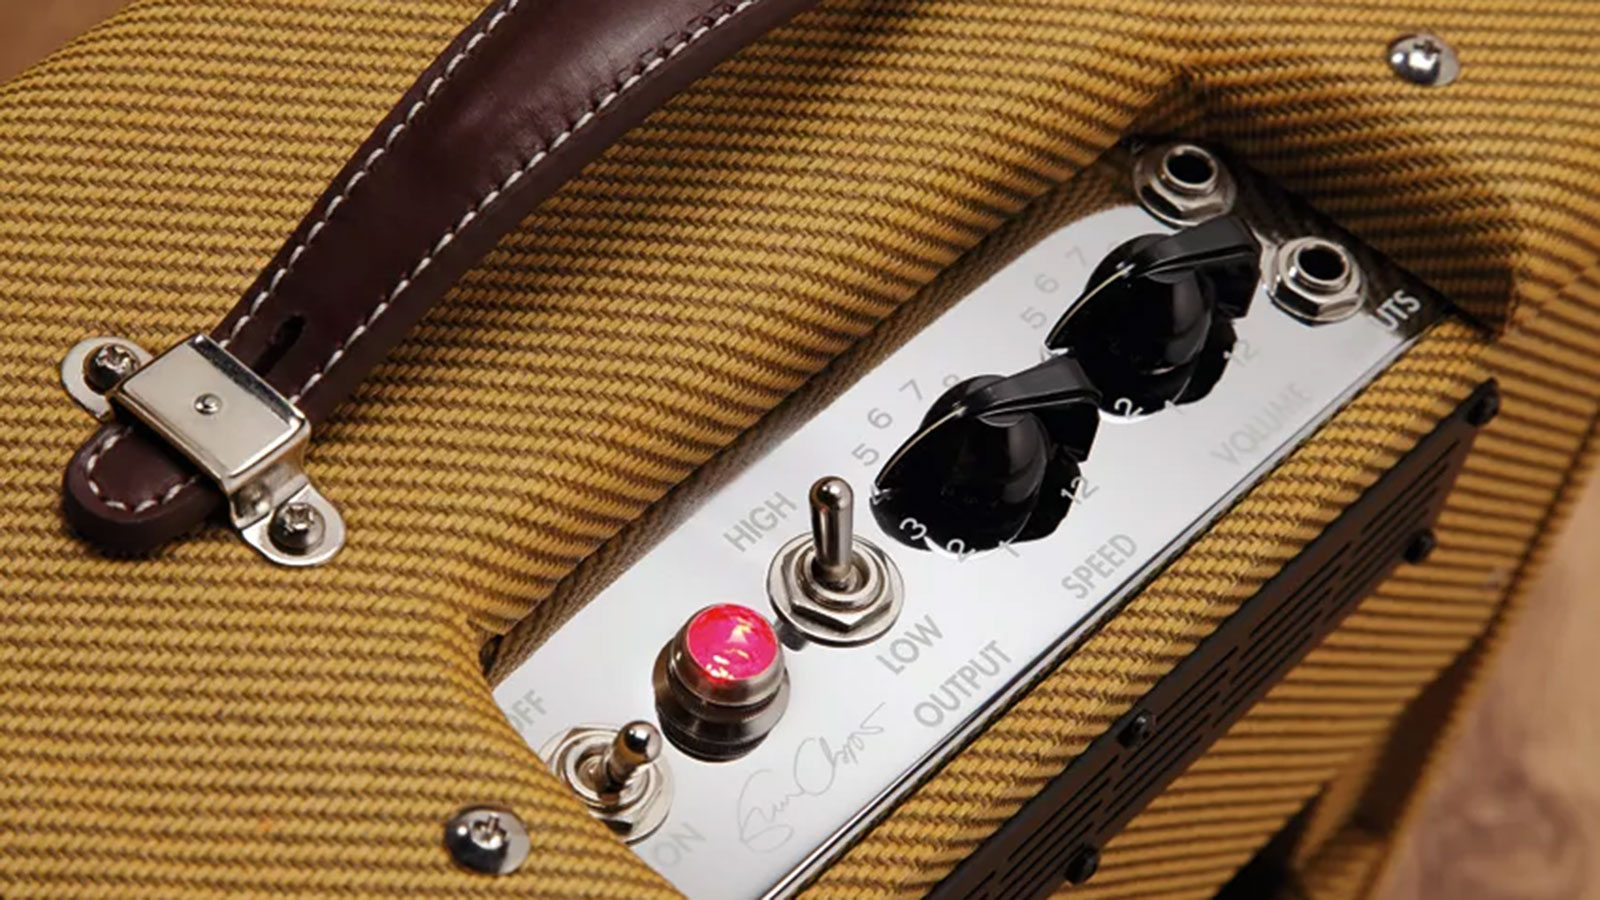
Valve amps need to be working at their ‘sweet spot’ to sound best.
Weirdly, for most Marshalls and Fenders, that seems to be anywhere from4 to 8 on the master in our experience! If you find a valve amp sounds somehow ‘cold’, ‘brittle’ or harsh, it might be that it’s just not turned up enough to be working properly.
Joe Perry of Aerosmith, for example, uses small amps, suitably miked up, even for stadium gigs. We’ve seen Jeff Beck doing the same thing. In any case, it’s a great excuse to own three amps: small, medium and big, depending on application. Big amp not sounding good at home? Buy a modelling amp!
49. Tune your guitar
The single biggest improvement you can make to your sound comes from playing in tune.
Buy a quality tuner and use it. No excuses.
50. Be yourself
Every single top guitarist in the world will tell you this. The slightly uncomfortable truth is that the very best tone comes from inside you, and it’s a complicated mash-up of physical and mental factors – your gear is but the collective conduit.
The best advice we’ve ever had – given to us by everyone from Seasick Steve to Robben Ford to Peter Green to Steve Vai and more – is to spend your practice time practising, but when it comes to the gig or the recording, put all that to the back of your mind and commit yourself only to the music and the moment.
The previous 49 steps will help you discover what works and what doesn’t along the way, and if you explore all of them, we absolutely guarantee you will sound better.
For a lucky few, it will transcend exploration. The learning and experience becomes second nature and instinct, and at that point you have no option but to sound like yourself. If and when that comes, it’ll be the best tone you’ve ever known. Not just better, but best.
MusicRadar is the number one website for music-makers of all kinds, be they guitarists, drummers, keyboard players, DJs or producers...
- GEAR: We help musicians find the best gear with top-ranking gear round-ups and high-quality, authoritative reviews by a wide team of highly experienced experts.
- TIPS: We also provide tuition, from bite-sized tips to advanced work-outs and guidance from recognised musicians and stars.
- STARS: We talk to musicians and stars about their creative processes, and the nuts and bolts of their gear and technique. We give fans an insight into the craft of music-making that no other music website can.
“These guitars travel around the world and they need to be road ready”: Jackson gives Misha Mansoor’s Juggernaut a new lick of paint, an ebony fingerboard and upgrades to stainless steel frets in signature model refresh
“It’s about delivering the most in-demand mods straight from the factory”: Fender hot-rods itself as the Player II Modified Series rolls out the upgrades – and it got IDLES to demo them


